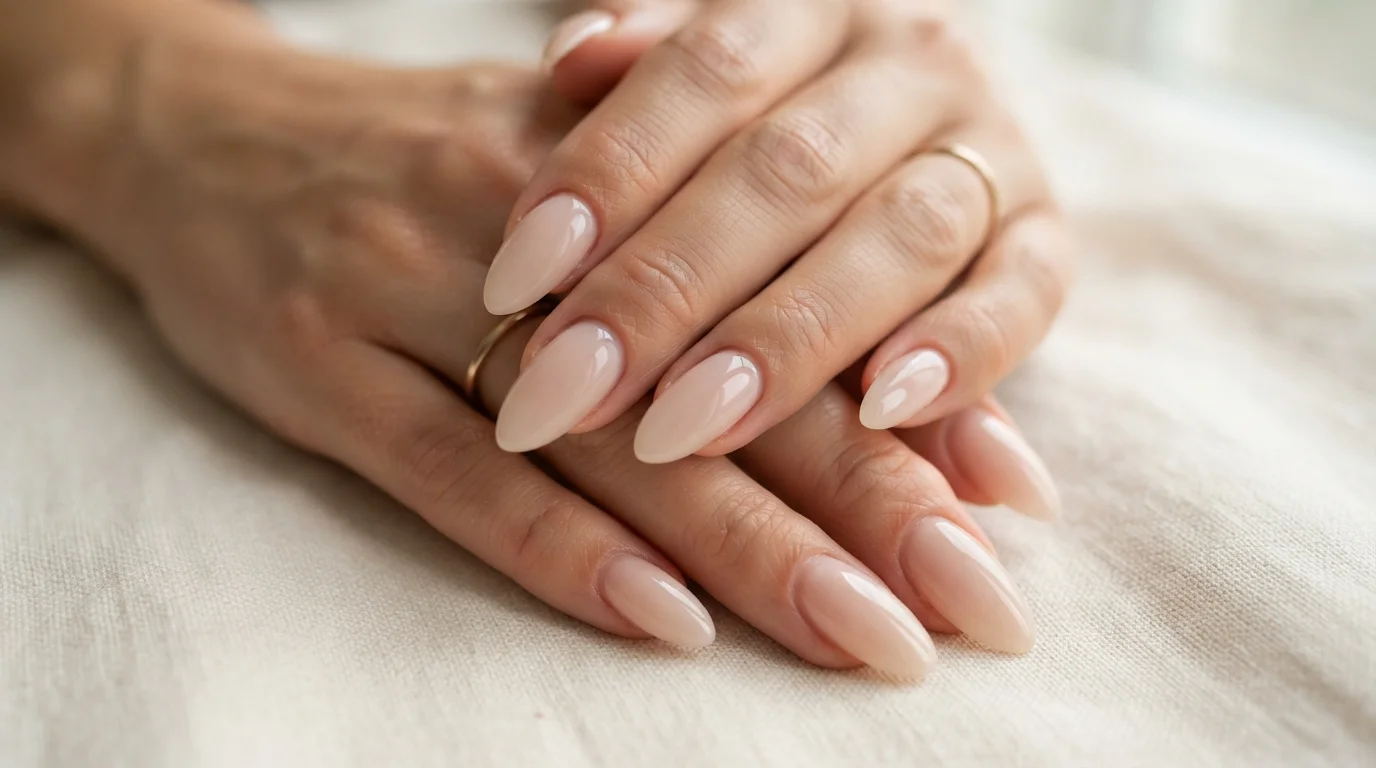
20 Beautiful Classy Acrylic Nail Ideas for an Elegant Everyday Manicure
Most “classy nails” content stops at color and shape, but an acrylic manicure that stays elegant through three or four weeks of actual daily use depends just as much on things that never make it into a photo caption — apex placement, C-curve, how the tip is blended into the natural nail. A gorgeous color on a poorly structured acrylic set looks tired within a week; the same color on a well-structured set still looks intentional at the end of a full fill cycle.
This guide treats “everyday elegant” as a structural problem as much as an aesthetic one. Each entry below covers not just what the finished look is, but what a technician is actually doing with the acrylic itself — apex height, tip blending, C-curve strength — to make sure it holds its elegant shape rather than degrading into something bulky or misshapen by week three.
Style 1: Correct Apex Placement for a Natural-Looking Arch
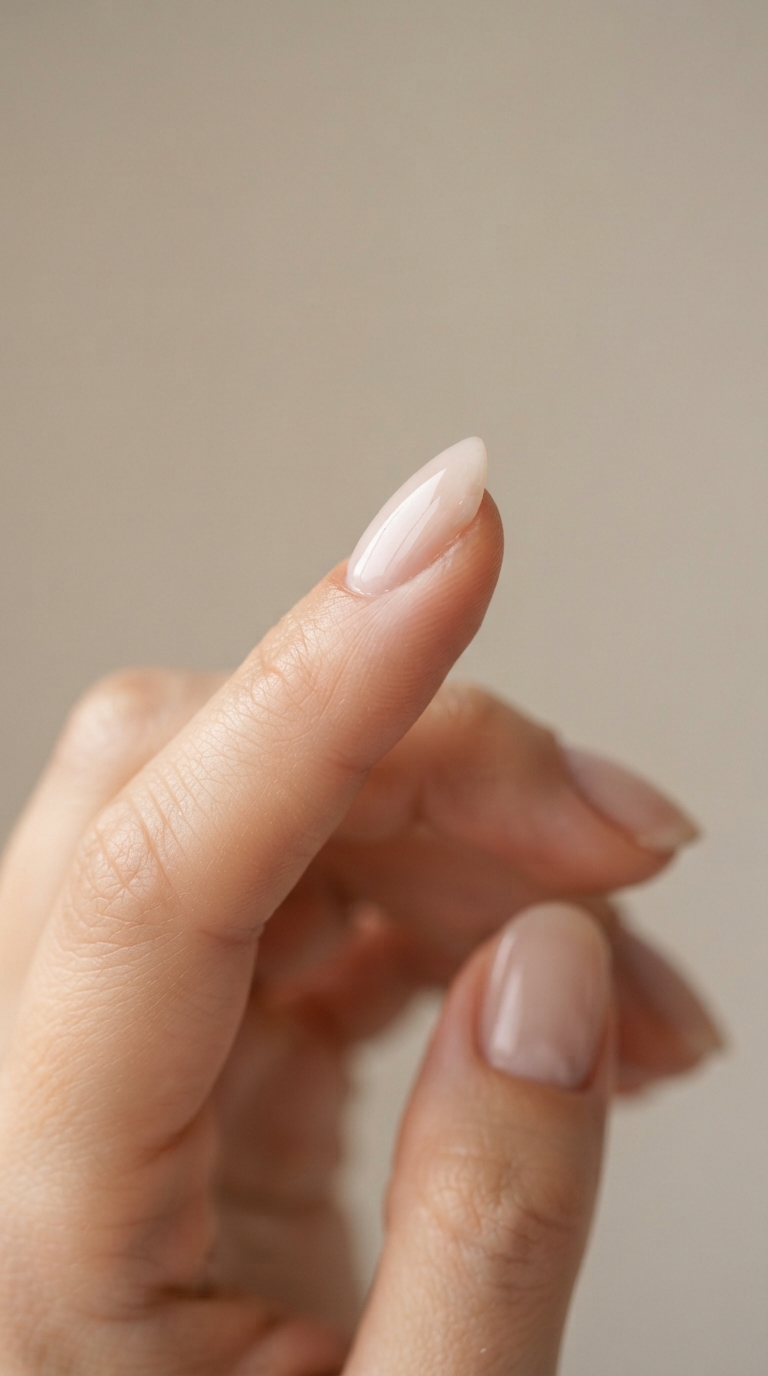
The apex — the highest point of the acrylic’s curve, usually placed just past the center of the nail bed — determines whether an acrylic set looks like an extension of your natural nail or an obviously separate structure sitting on top of it. Placed too close to the cuticle, the nail looks flat and thick at the base; placed correctly, the nail tapers naturally from a slim base to a gently arched midpoint, mimicking how a strong natural nail actually grows. This single structural detail affects every color and design layered over it. Best for: Anyone whose acrylics have looked bulky or unnatural at the base in the past.
Style 2: A Strong C-Curve for a Sleek Side Profile
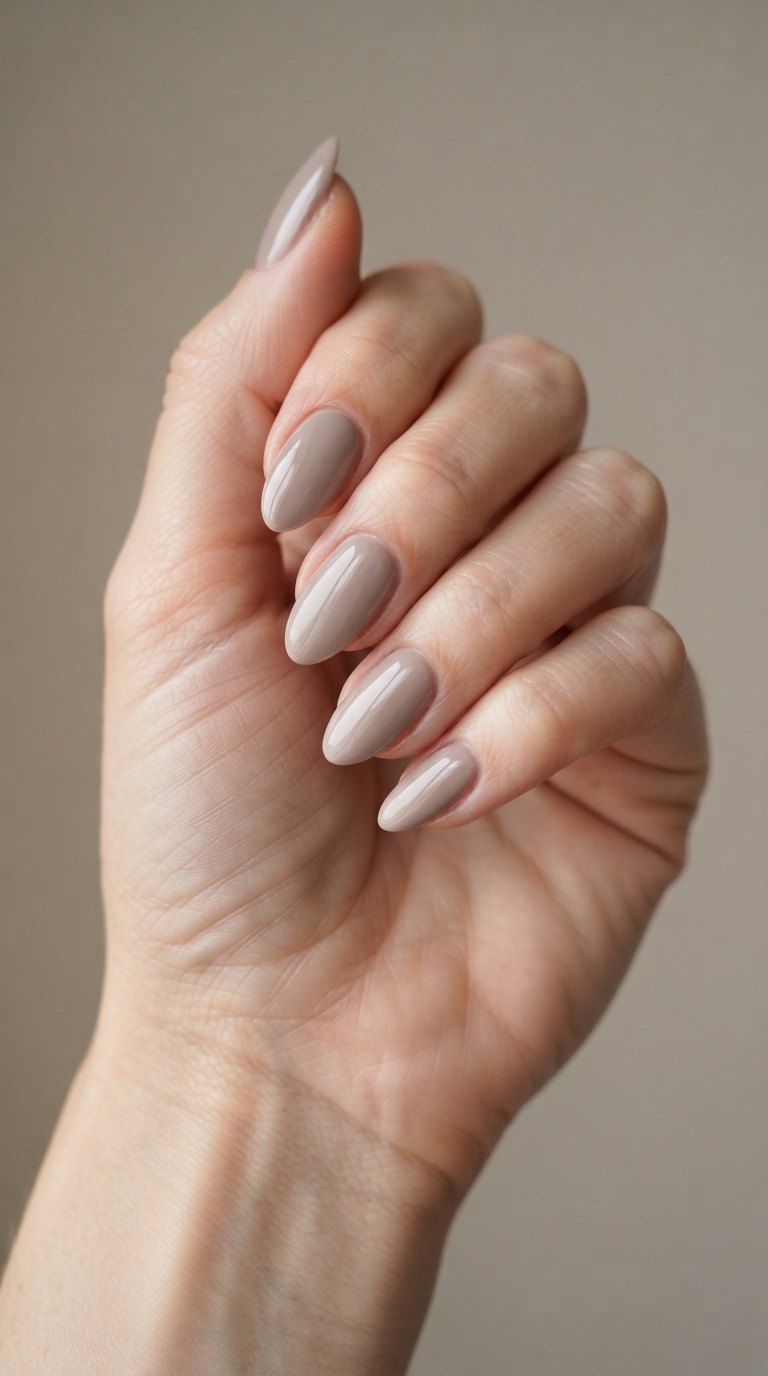
The C-curve — how tightly the nail curves when viewed from the tip — is what separates a nail that looks structurally strong from one that looks flat and paddle-like from certain angles. A moderate, consistent C-curve across all ten nails reads as more refined and deliberate than a flat or inconsistent one, and it’s a detail worth specifically requesting since it requires slightly more skill and time from a technician than a flatter application. Best for: Anyone wanting their nails to look structurally elegant from every angle, not just from directly above.
Style 3: Seamless Tip Blending Into the Natural Nail
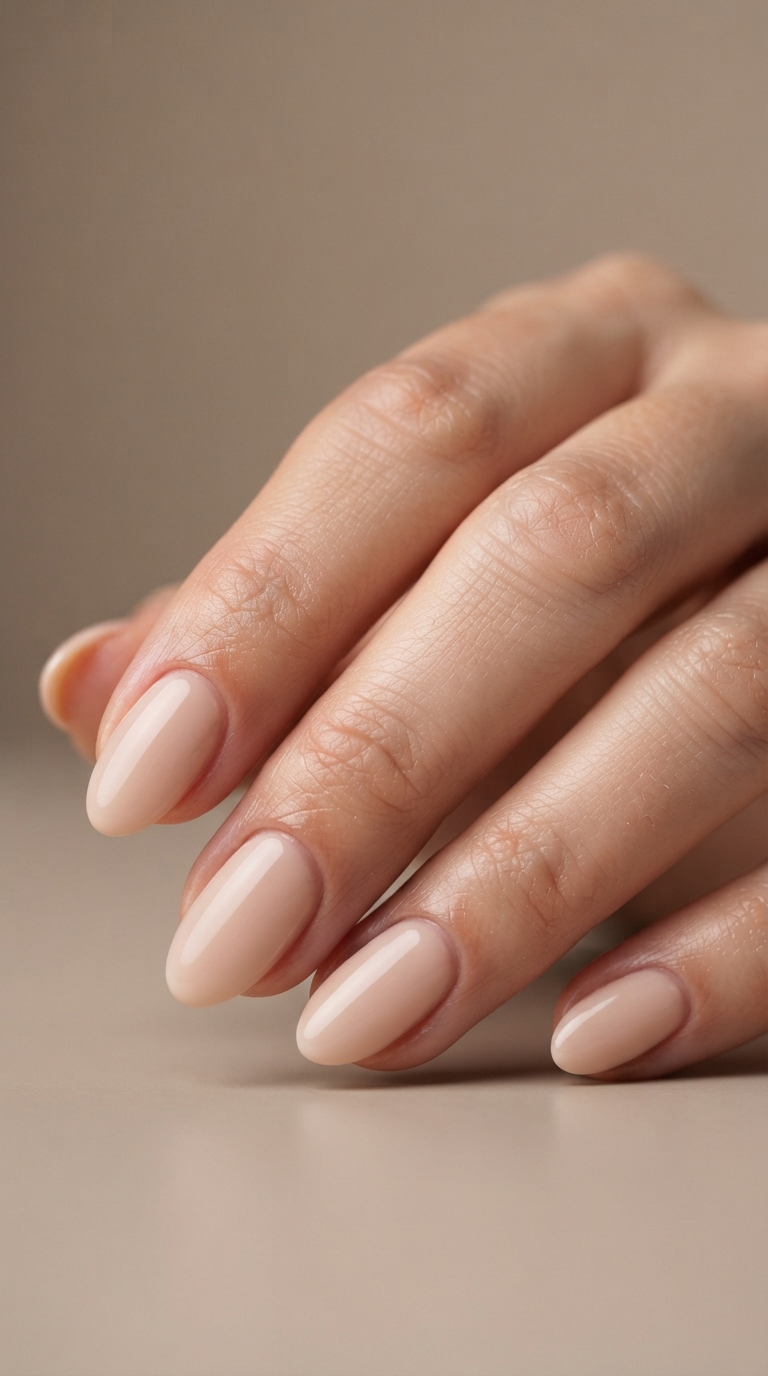
Where the acrylic overlay meets the natural nail plate, a visible ridge or thickness change signals a rushed or less careful application, while seamless blending — achieved through careful filing that tapers the product thickness gradually rather than abruptly — makes the entire nail look like one continuous, natural structure. This is one of the most technician-dependent details on this list, and it’s worth asking about directly at a consultation if you’ve had ridged acrylics before. Best for: Anyone who’s noticed a visible line or ridge at the base of previous acrylic sets.
Style 4: Thin, Lightweight Acrylic Application
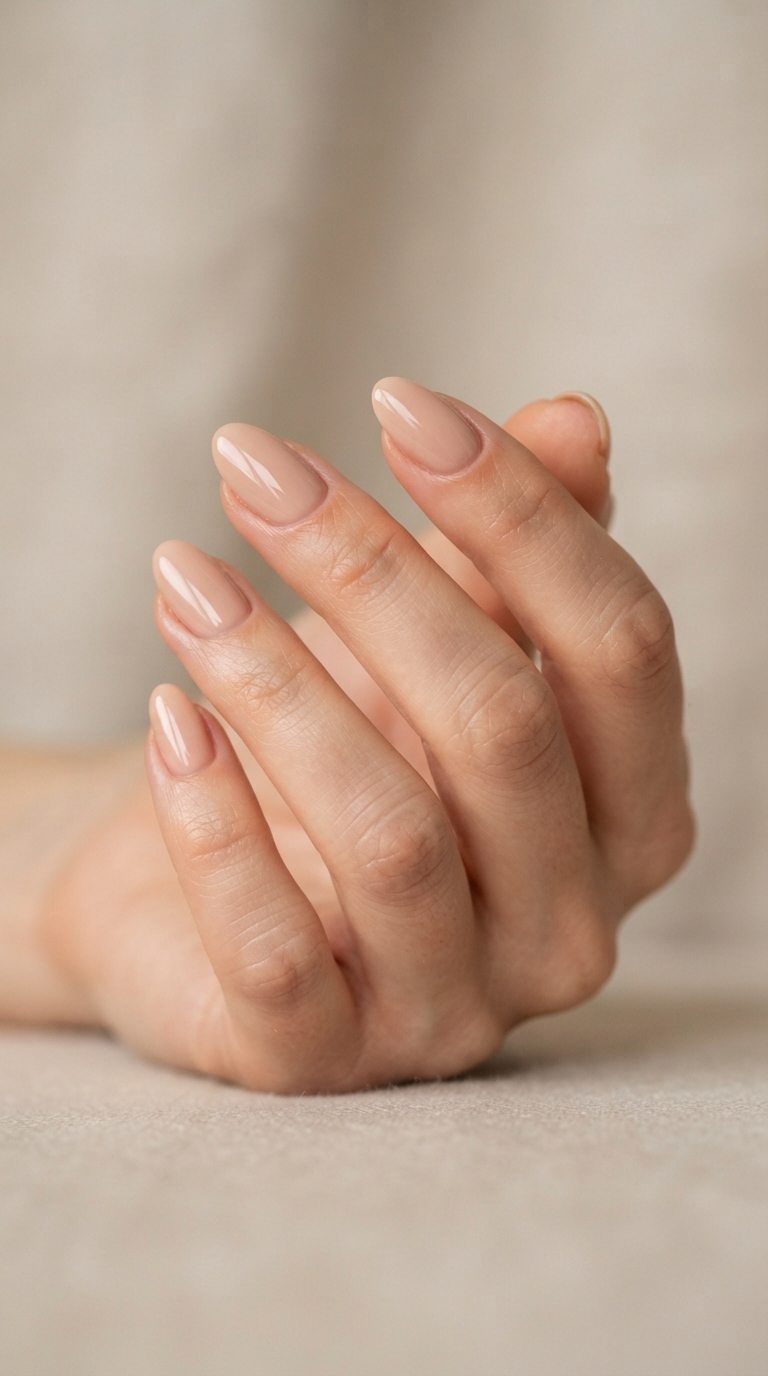
A thinner acrylic application, requiring a skilled technician to build strength through layering technique rather than sheer bulk, feels noticeably lighter on the hand and moves more naturally throughout the day than a thick, heavy set. Thinness isn’t about fragility — a well-layered thin acrylic can be just as durable as a thick one, since strength comes from proper structural layering, not overall mass. Best for: Anyone who finds acrylics feel heavy or cumbersome, especially on longer lengths.
Style 5: Medium Almond With Balanced Length
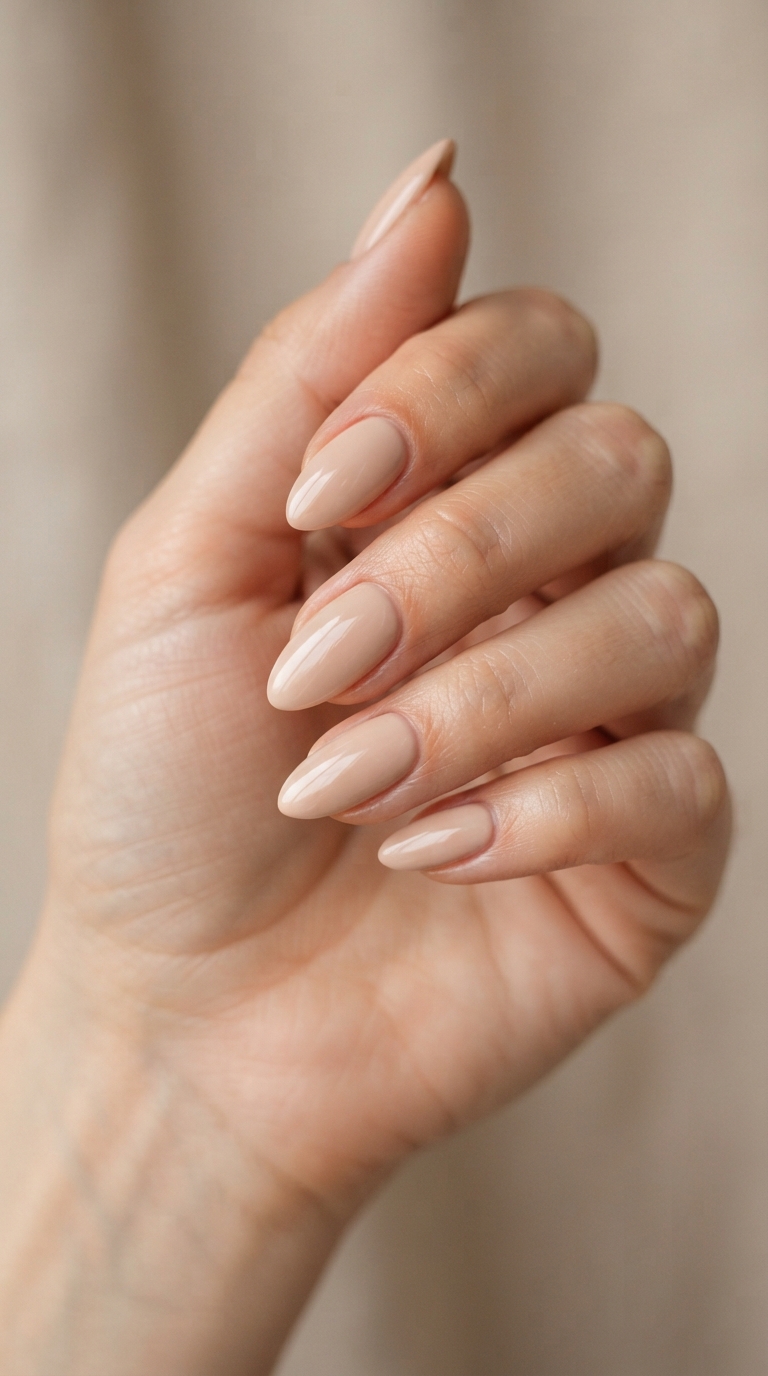
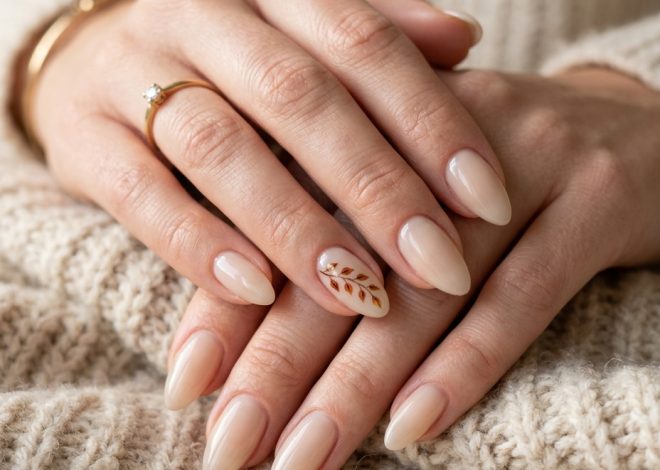
Almond shape at a medium length — long enough to elongate the fingers, short enough to remain practical for daily tasks — is the single most requested proportion for anyone wanting elegance without sacrificing function. Length that exceeds what a person can comfortably type, cook, or generally function with tends to compromise the “everyday” part of everyday elegance, regardless of how beautiful the shape looks in a photo. Best for: Anyone balancing an elegant look with genuine daily practicality.
Style 6: Squoval for Structural Durability
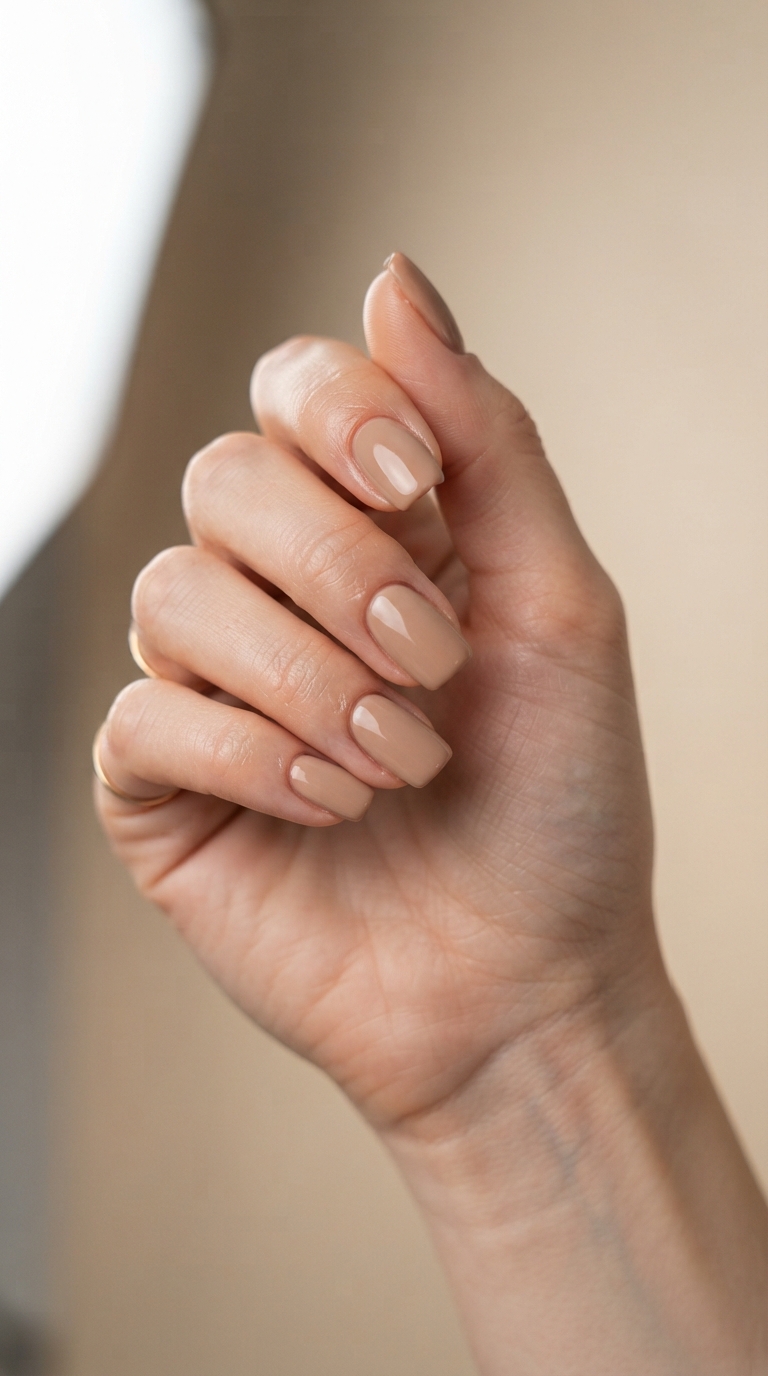
A soft square with rounded corners, squoval distributes daily stress more evenly across the nail’s edge than a fully squared shape, which concentrates pressure at the sharp corners and makes chipping or cracking at those points more likely. This makes squoval one of the more durable shape choices for anyone whose hands are in frequent use throughout the day. Best for: Anyone whose nails take daily wear and needs a shape built to hold up structurally.
Style 7: Sheer Milky Nude With a Natural-Looking Overlay
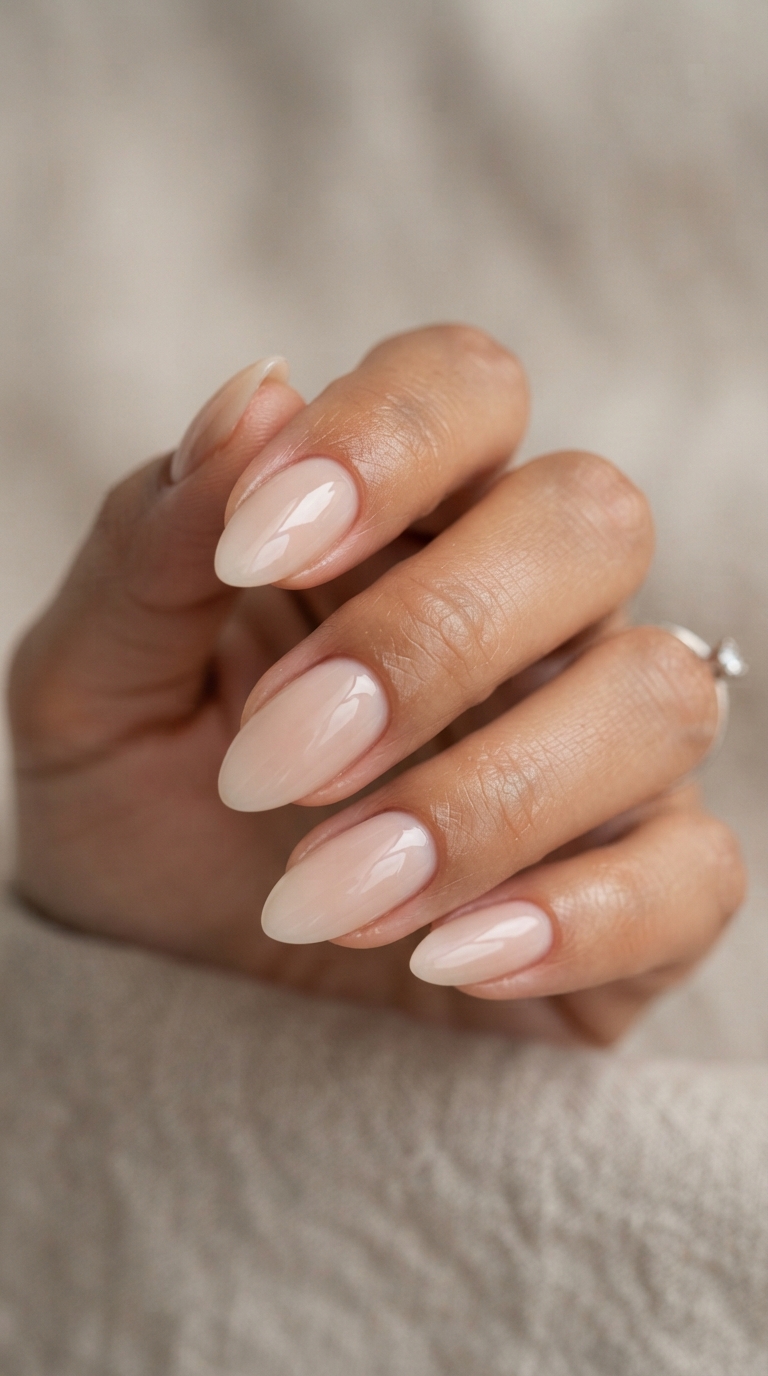
A barely-there sheer nude, applied thinly enough that the acrylic reads as an extension of the natural nail bed rather than an obviously separate colored layer, is one of the more technically forgiving looks to maintain since regrowth barely disrupts the color line. This shade specifically benefits from the thin application discussed in Style 4, since a thick sheer application can look cloudy rather than clean. Best for: The lowest-maintenance elegant option on this entire list.
Style 8: Warm Beige With a Satin Topcoat
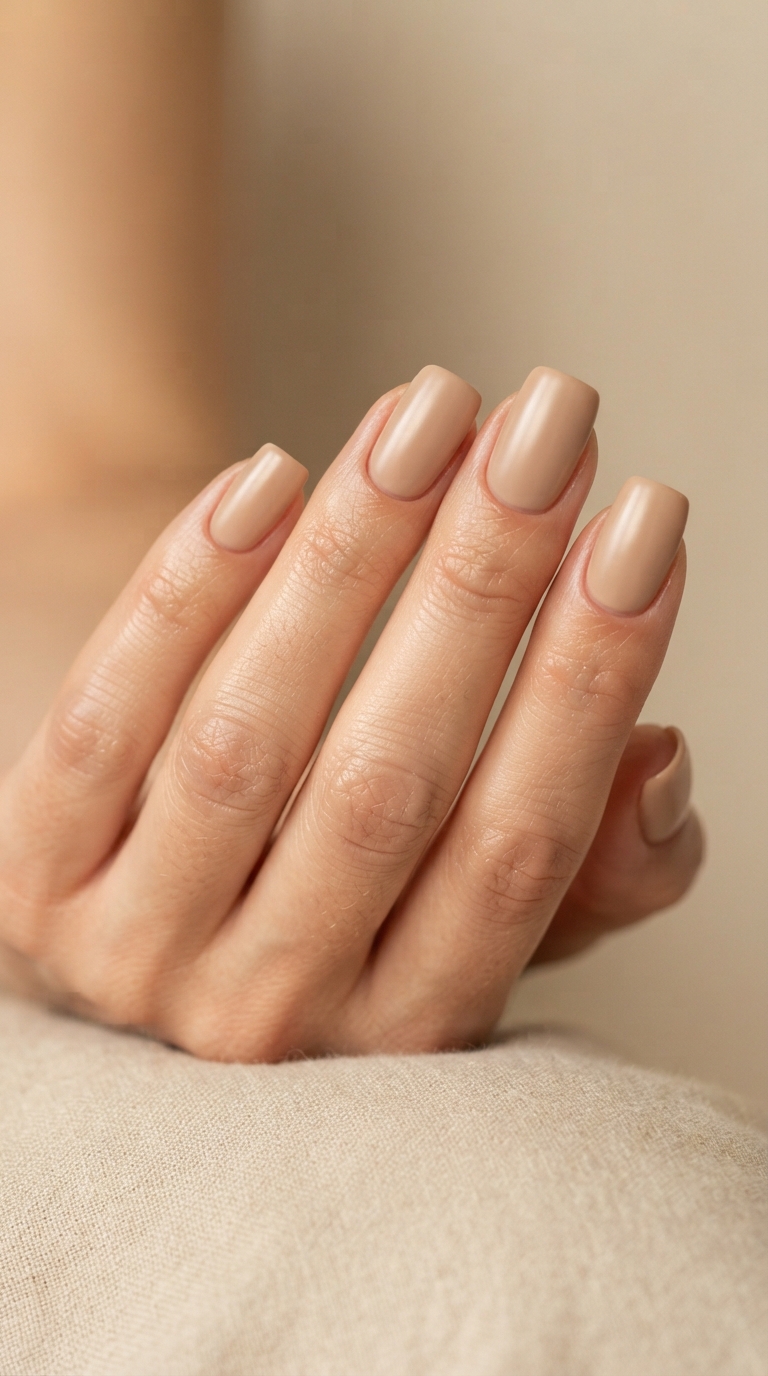
A fully opaque warm beige, finished with a satin rather than high-gloss topcoat, reads as considered and grown-up rather than simply neutral — the satin finish softens the color’s edges the way matte does, without going fully flat. This is a strong daily-wear option since satin finishes tend to show minor surface wear less obviously than high gloss does over a multi-week fill cycle. Best for: Anyone wanting opaque, deliberate color with forgiving daily durability.
Style 9: The Micro French With Precision Tip Application
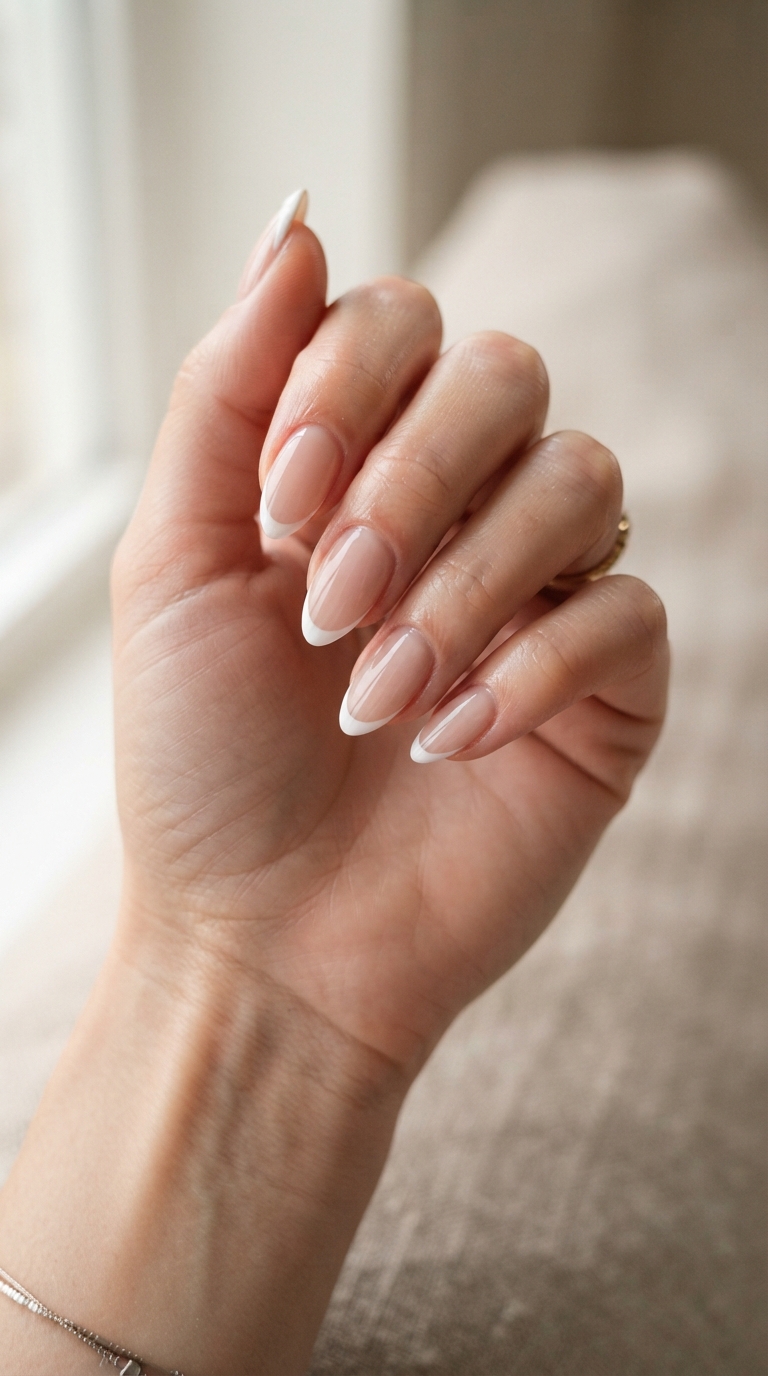
A significantly thinned French tip line depends heavily on precise acrylic tip blending underneath it — if the acrylic’s own tip edge isn’t clean and evenly built, a thin painted line over it will highlight rather than hide any unevenness. This is a design where the underlying acrylic structure and the polish work are equally important to the finished result. Best for: Anyone wanting fine detail work, provided the technician’s acrylic application is precise to begin with.
Style 10: Coffin Shape Kept Short for Everyday Structure
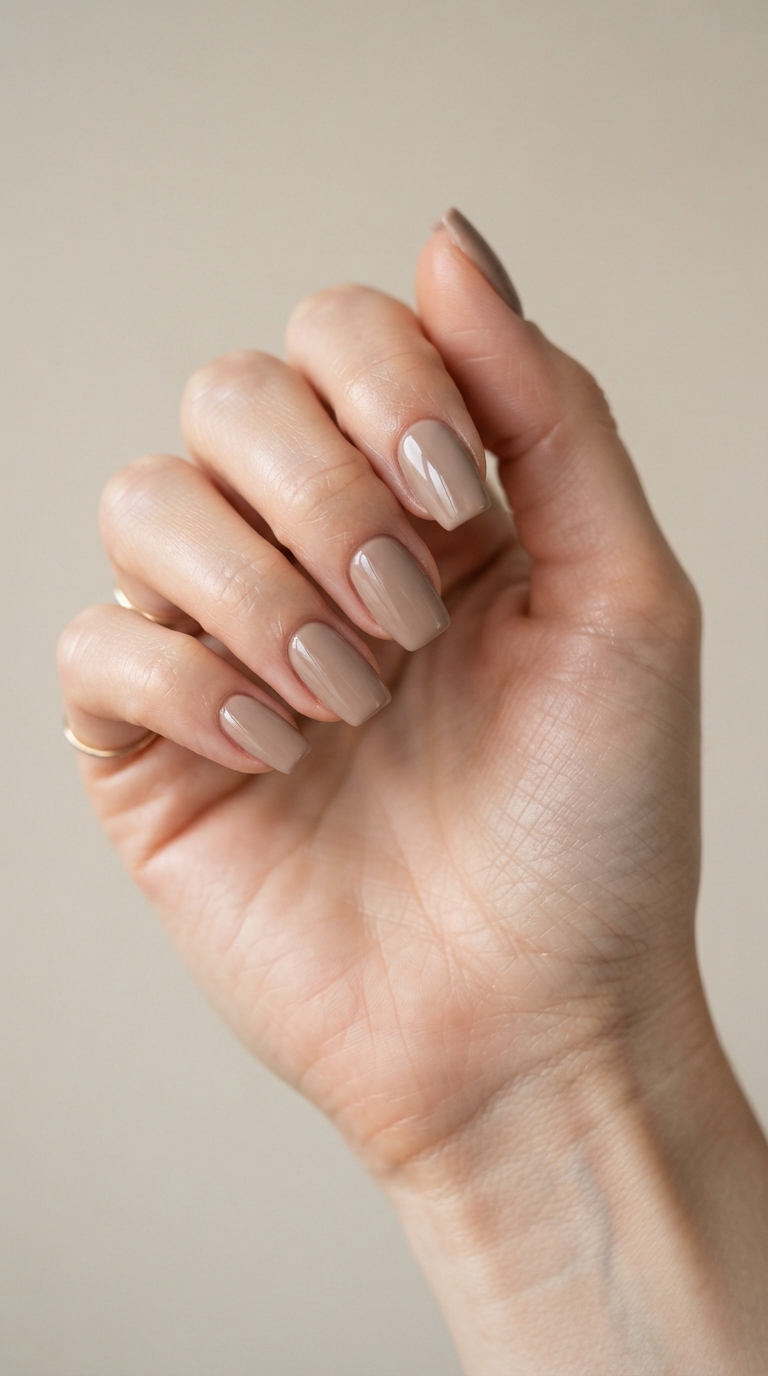
Coffin (or ballerina) shape at a genuinely short length trades the dramatic length usually associated with the shape for structural edge and modern flatness at the tip, while staying entirely practical for daily hand use. Because the flat tip has more surface area than a tapered almond tip, it’s also somewhat more resistant to tip breakage from daily impact. Best for: Anyone wanting a modern, structured shape without any of the length commitment.
Style 11: Greige With Even Cuticle-to-Tip Color Saturation
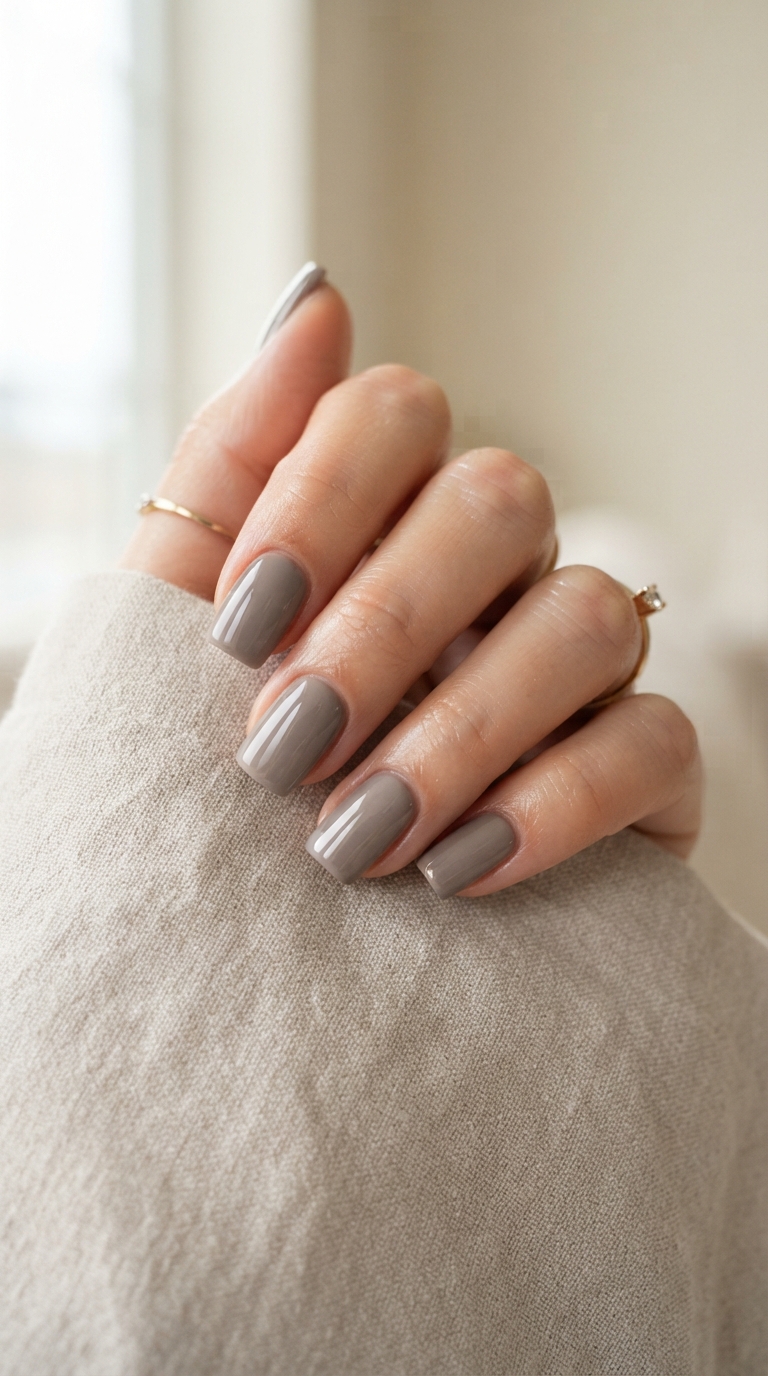
Achieving even color saturation from cuticle to tip in a single coat requires a technician’s careful, deliberate polish application over the acrylic, since uneven saturation (patchy near the cuticle, more solid at the tip) is one of the more common signs of a rushed color application. Greige specifically shows this unevenness clearly due to its balanced, neither-warm-nor-cool tone. Best for: Anyone who’s noticed patchy or streaky color in past manicures.
Style 12: Fine Gold Cuticle Line, Placed on Cured Structure
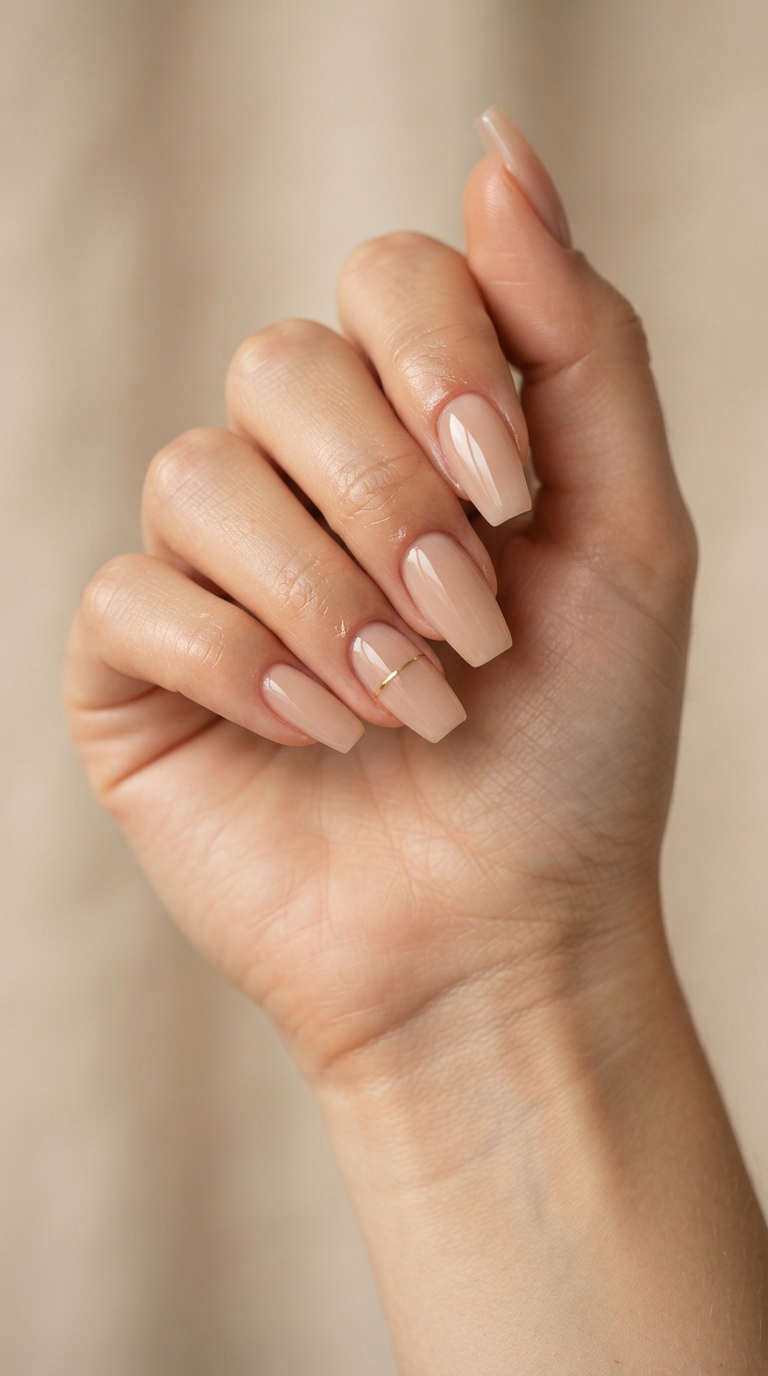
A single fine gold line applied at the cuticle after the base color has fully cured (rather than while still tacky) sits crisply on the surface rather than bleeding or smudging into the surrounding polish, which is a common flaw when detail work is rushed before the base layer is ready. This small technical patience point is what separates a crisp, jewelry-like line from a slightly blurred one. Best for: Anyone wanting a small detail that actually looks precise up close.
Style 13: Deep Espresso With a Reinforced Free Edge
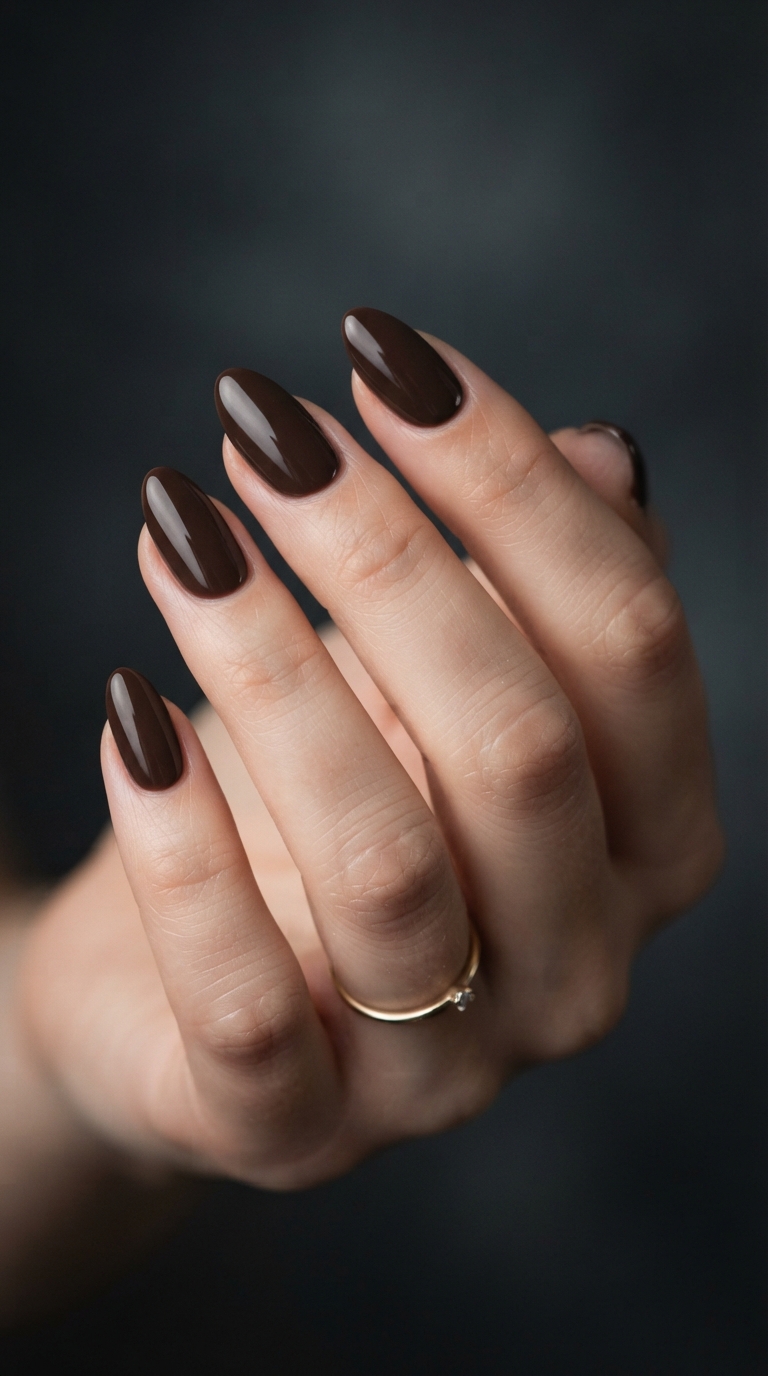
On darker, opaque colors like deep espresso, any structural weakness at the free edge (the nail’s outermost tip) shows more clearly than on sheer shades, since chips reveal the lighter natural nail or acrylic underneath in high contrast. A technician reinforcing the free edge with an extra-thin layer of acrylic specifically at the tip reduces this visible chipping risk. Best for: Anyone drawn to darker, richer colors who wants them to hold up visibly well over a full fill cycle.
Style 14: Cherry Red With a Reinforced, Rounded Apex
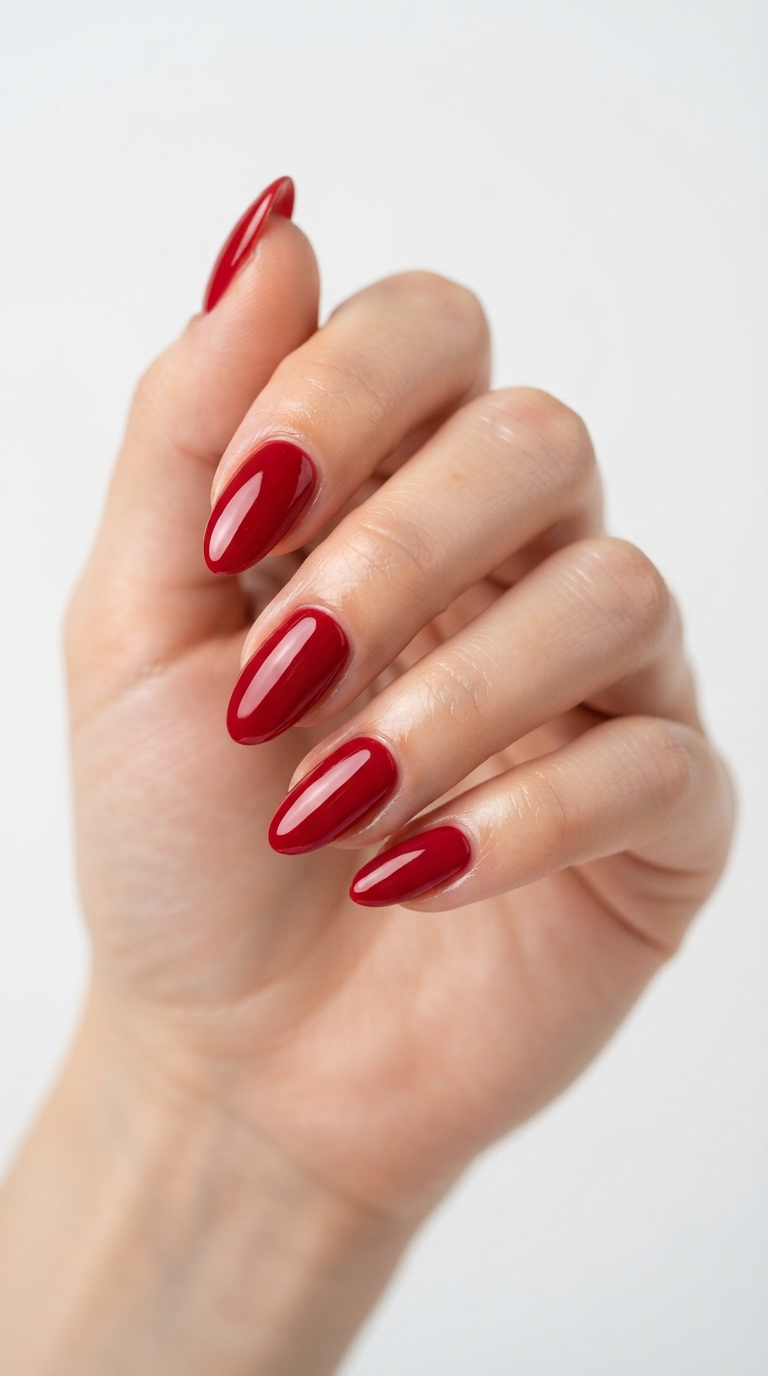
Red polish reflects light intensely, which means any structural imperfection in the nail’s apex or curve is more visually obvious under red than under a neutral shade — a well-rounded, properly placed apex is what keeps a red manicure looking sculptural rather than flat under bright light. Best for: Anyone wanting a classic red that photographs as structurally polished, not just colorfully bold.
Style 15: Barely-There Chrome on a Single Structurally Sound Accent Nail
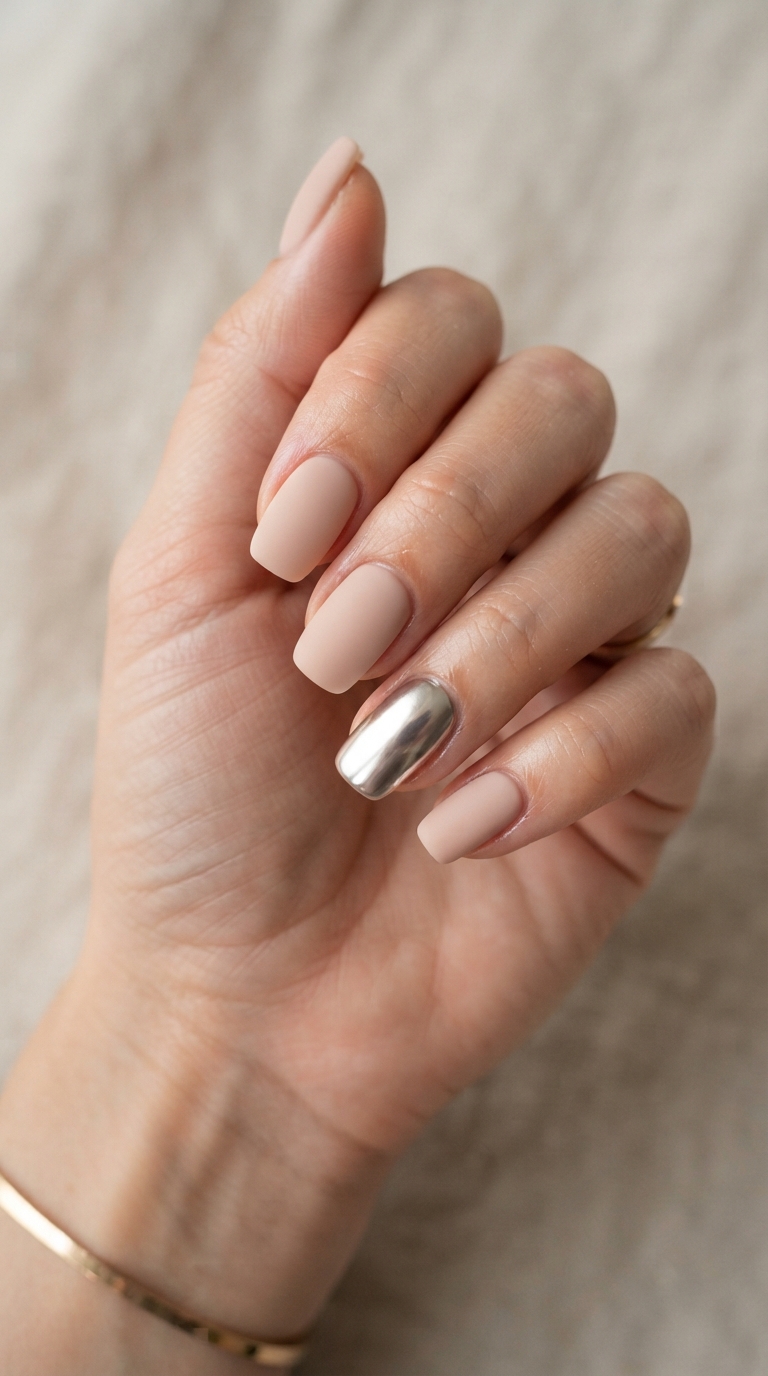
A chrome or shimmer finish reflects light directly off the nail’s surface curve, meaning any unevenness in the acrylic’s shape underneath becomes far more visible than it would under a matte polish. Reserving chrome for a single, particularly well-structured accent nail rather than the full set both controls the overall look and showcases the acrylic work at its best. Best for: Anyone wanting shine that actually flatters rather than exposes structural flaws.
Style 16: Matte Taupe With Extra Attention to Surface Smoothness
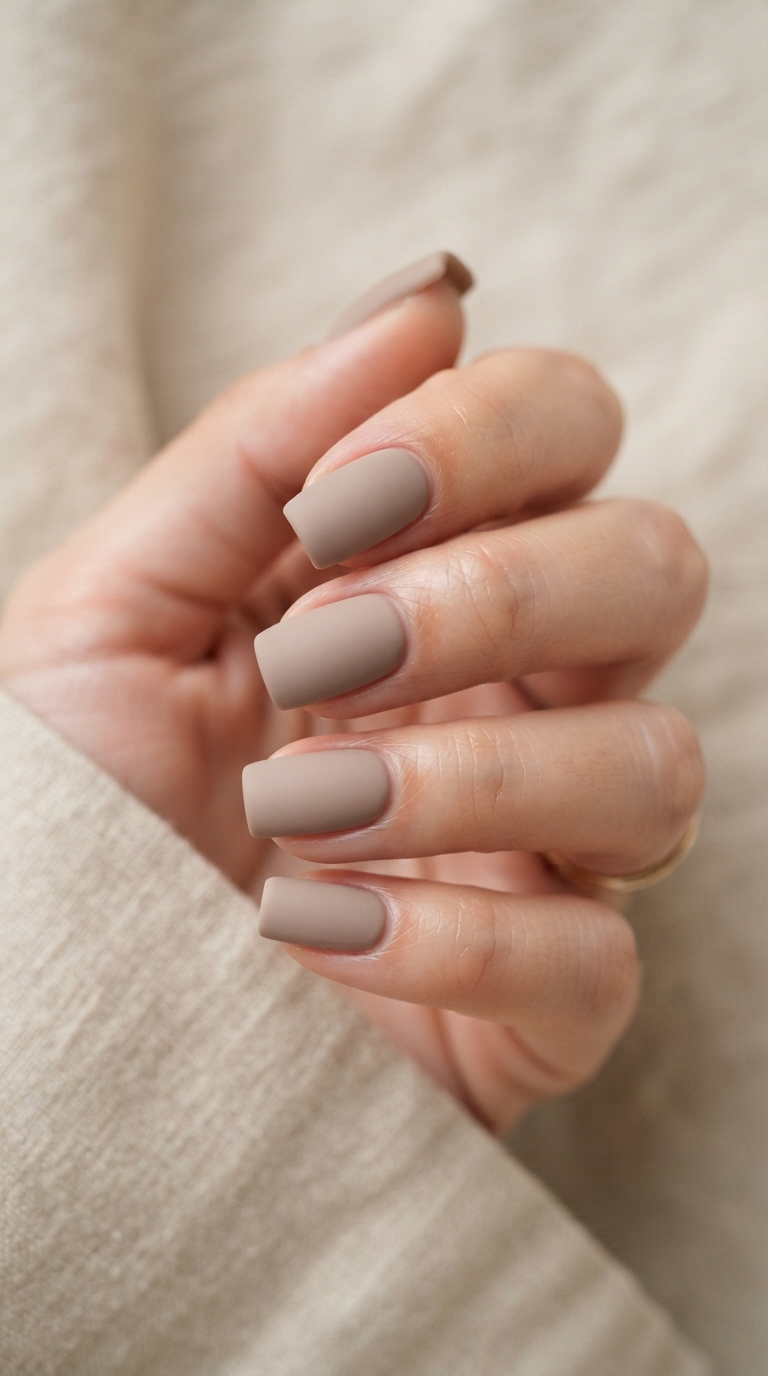
Matte finishes reveal any surface unevenness in the underlying acrylic far more readily than glossy finishes do, since there’s no shine to distract the eye from texture irregularities — this makes matte colors a genuine test of how well the nail was filed and buffed before polish went on. Best for: Anyone wanting to judge how thorough a technician’s finishing work actually is.
Style 17: Soft Squoval With a Single Cuticle Dot Detail
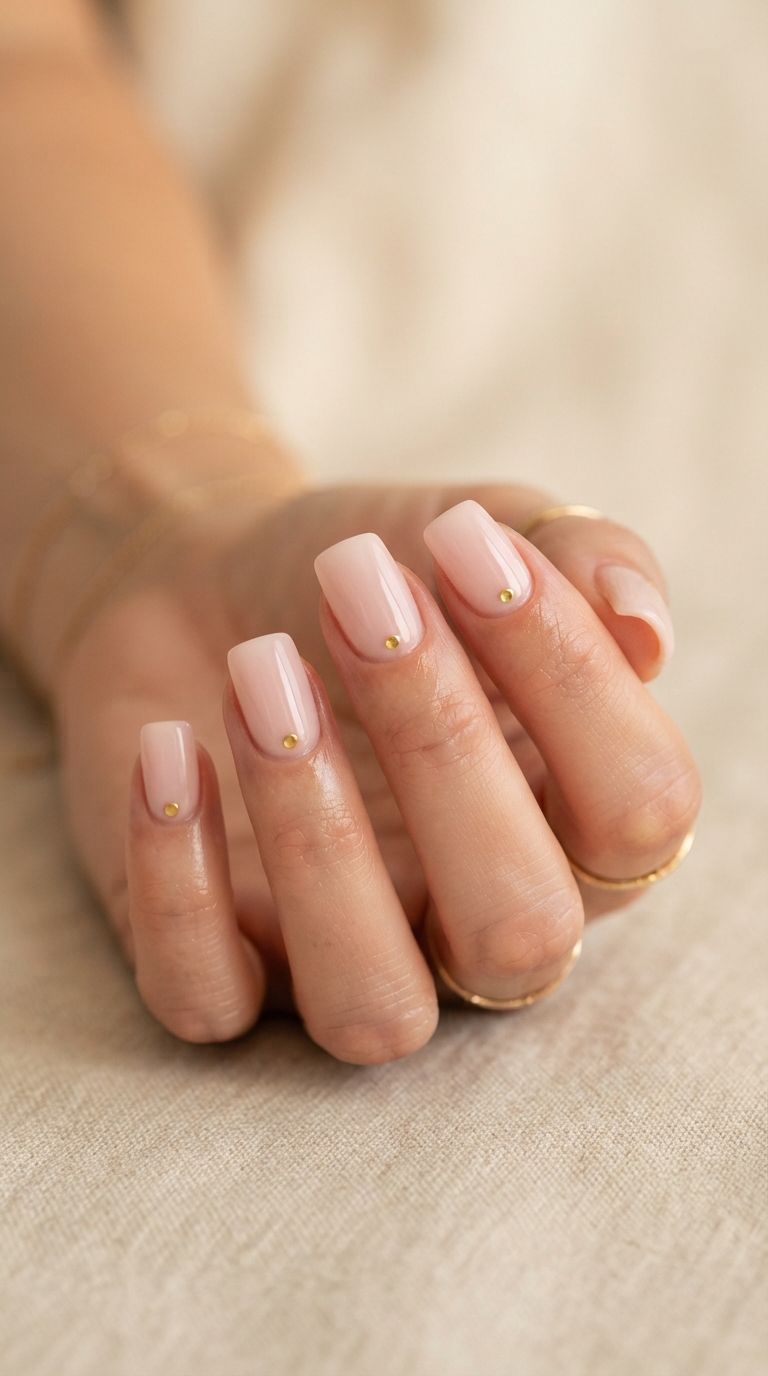
One small, precisely placed dot just above the cuticle line requires the surrounding acrylic surface to be genuinely smooth for the dot to sit crisply rather than spreading unevenly into surrounding texture. Kept to pinhead size, this remains one of the lowest-commitment nail art details, provided the underlying nail is well-finished. Best for: Anyone wanting the smallest possible design detail without sacrificing precision.
Style 18: Oval Shape With a Consistent Length Across All Ten Nails
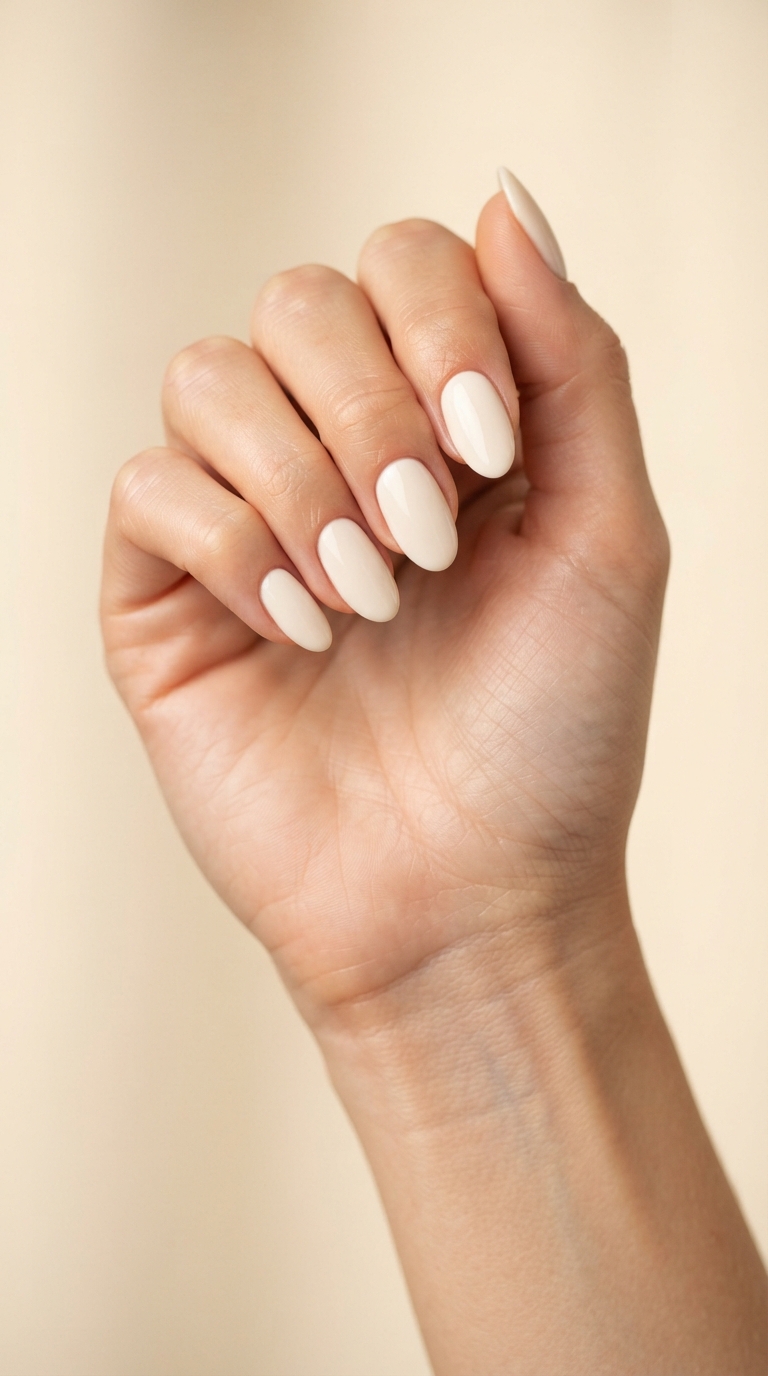
Consistent length across all ten fingers — a detail easy to overlook but immediately noticeable when it’s off — depends on careful measurement during the acrylic application rather than eyeballing each nail individually. Oval shape in particular makes length inconsistency more visible than a squared shape does, since the rounded silhouette has no straight edge to visually mask small variations. Best for: Anyone who’s noticed mismatched nail lengths in past sets.
Style 19: Nude With a Single Structurally Showcased Money Nail
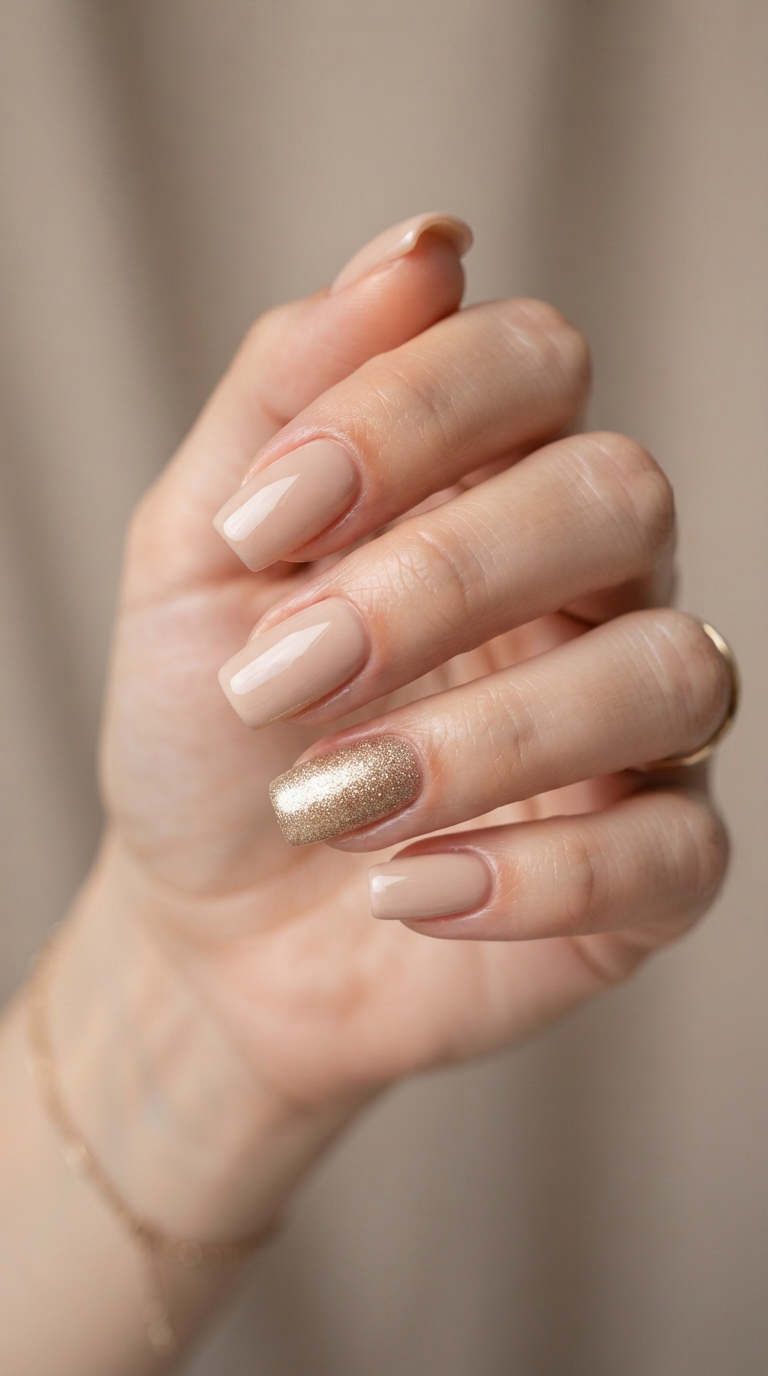
Nine nails in a classic nude with one accent nail carrying a fine metallic detail draws the eye specifically to that nail’s shape and finish, which only works elegantly if that particular nail’s structure — apex, C-curve, tip blend — is genuinely the technician’s best work in the set. This design essentially puts the acrylic structure on display in a way flat color alone doesn’t. Best for: Anyone confident in their technician’s structural precision who wants that precision highlighted.
Style 20: Short Round With Minimal Product for Maximum Comfort
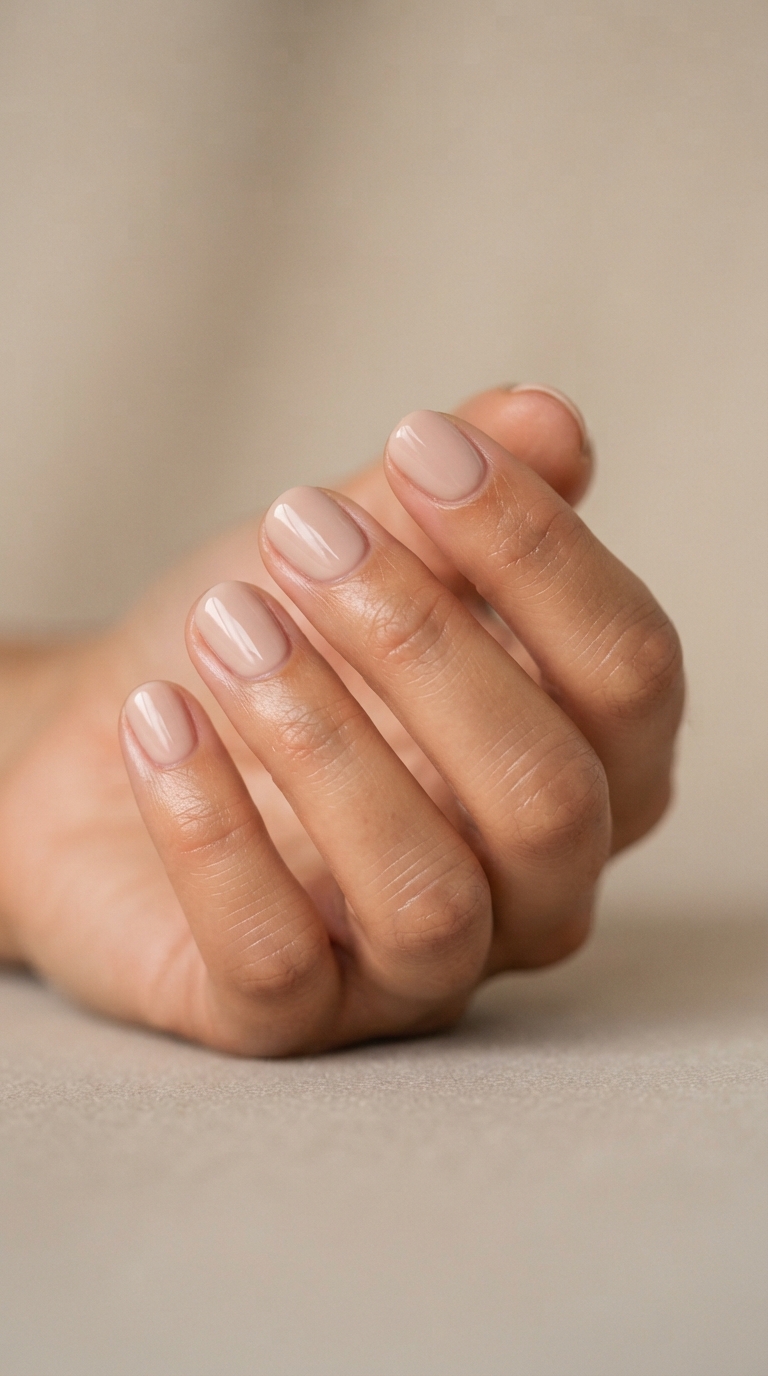
At a genuinely short length with minimal acrylic product overall, this look prioritizes comfort and natural movement above all else, while still achieving the smooth, rounded, polished silhouette that reads as elegant. This is often the most sustainable long-term choice for anyone who works extensively with their hands and wants elegance without any compromise to daily function. Best for: Anyone prioritizing comfort and practicality as much as appearance.
What to Ask Your Nail Technician
Ask specifically about apex placement and C-curve strength if you’ve had acrylics before that felt bulky or looked flat from the side — these are technical requests a skilled technician will understand immediately, and asking signals you want structural quality, not just a color choice. If you’ve experienced ridging at the cuticle in past sets, mention it directly and ask for careful tip blending; this is a fixable technique issue, not an unavoidable feature of acrylics generally.
Maintaining a Structurally Sound Set
A well-structured acrylic set holds its shape and color noticeably longer than a poorly structured one, since even wear distributes across a properly balanced apex and C-curve rather than concentrating stress at weak points. Fill appointments every two to three weeks keep the structure from growing out into an unbalanced shape, and avoiding using nails as tools protects both the polish and the underlying structural integrity discussed throughout this guide.
Closing Thoughts
An acrylic manicure that still looks elegant on day twenty, not just day one, comes down to structural choices most people never think to ask about — apex, C-curve, tip blend, consistent length. Color and shape get you the initial impression; the underlying acrylic work is what determines whether that impression holds up through weeks of actual daily life.
Save this guide, bring the specific structural language to your next appointment, and judge your technician’s work by how it looks in week three, not just in the salon mirror.