

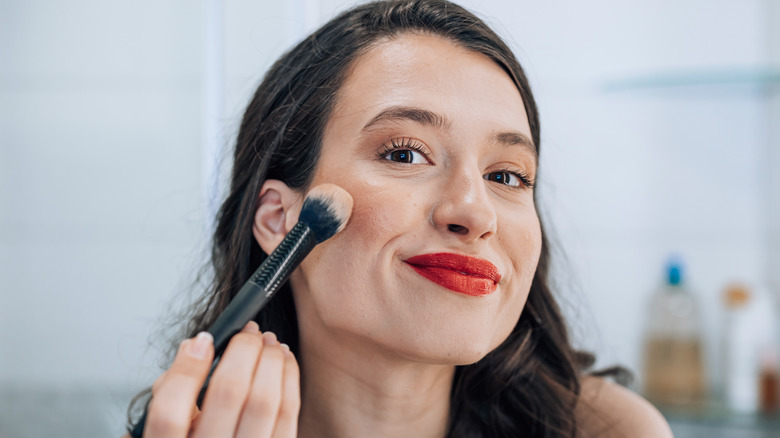
10 Makeup Mistakes That Can Make Your Look Feel Dated
Makeup trends move slowly enough that it’s genuinely easy to keep doing something for years without realizing the overall effect has shifted from “signature look” to “dated technique.” Unlike a hairstyle or an outfit, where an outdated choice is usually obvious at a glance, makeup mistakes tend to be more granular — a slightly wrong eyebrow shape, a blending technique that hasn’t updated, a lip liner habit from a different decade — and because you see your own face daily, these small technical choices become invisible to you long before they become invisible to anyone else.
The good news is that most of what actually dates a look isn’t the products themselves — it’s technique. A twenty-year-old foundation formula applied with a modern blending method can look more current than last season’s product applied the old way. That means fixing most of these issues costs nothing beyond a slightly different approach with tools you likely already own.
This guide breaks down ten specific makeup habits that tend to read as dated, explains the mechanism behind why each one ages a look, and walks through the exact technique adjustment that modernizes it — real, actionable detail rather than a vague “try something new.”
Mistake 1: Over-Plucked or Overly Thin Eyebrows
Extremely thin, heavily arched eyebrows were the defining brow shape of an earlier era, and the technical reason they now read as dated is proportion — thin brows shrink the visual weight of the upper face, which can make features look disconnected from each other rather than balanced. Current brow shaping favors a fuller, more natural arch that follows the brow bone’s existing structure rather than overriding it.
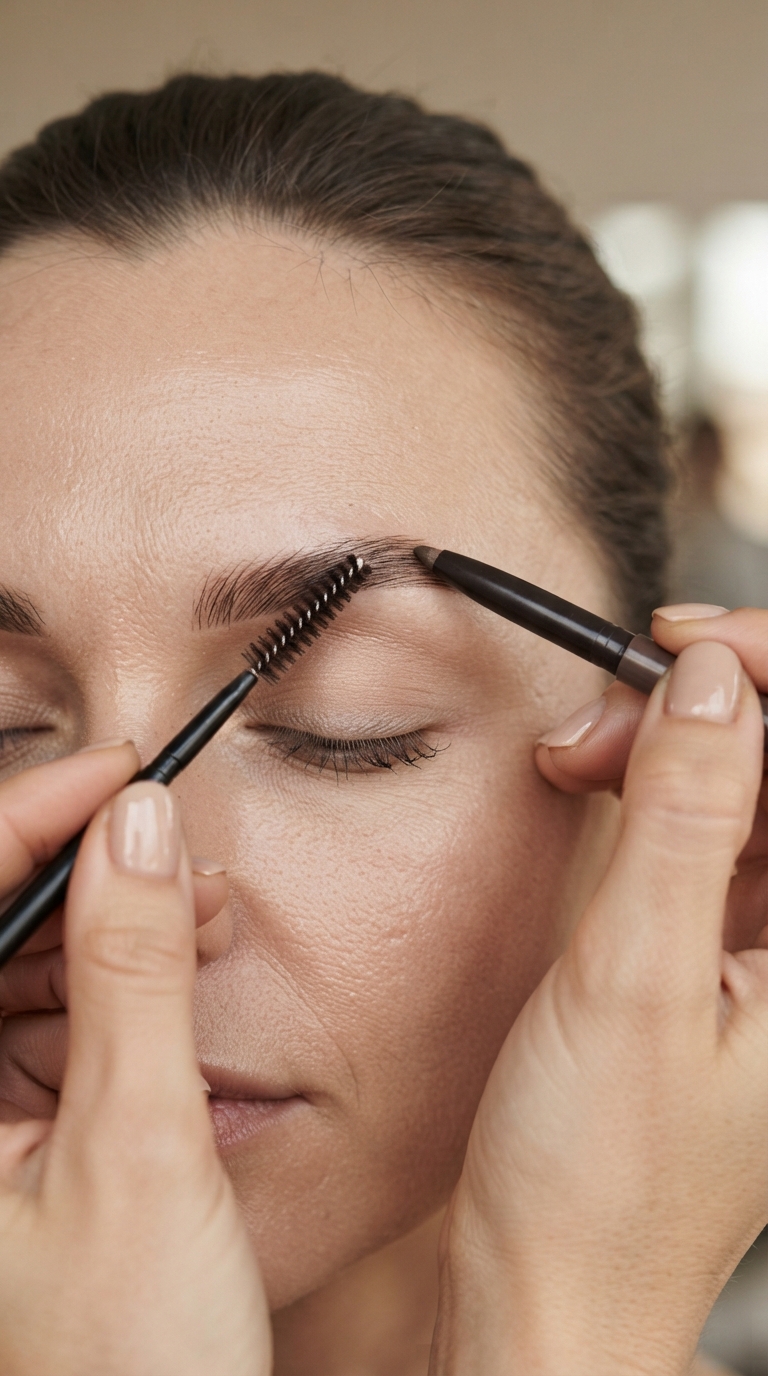
The fix isn’t necessarily growing brows out from scratch, though that’s an option for anyone with the patience for it. Filling in sparser areas with short, hair-like strokes using a fine brow pencil or a spoolie-brush combination, rather than one solid block of color, mimics the texture of natural brow hair and builds width without a harsh, drawn-on line. Brushing brow hairs upward and slightly outward with a clear or tinted brow gel before filling also helps the shape read as fuller and more natural, since it’s working with the brow’s existing growth direction rather than flattening it.
Best for: Anyone whose current brow routine still follows a thin, heavily arched shape from an earlier trend cycle.
Mistake 2: A Hard, Visible Foundation Line at the Jaw
A visible demarcation line where foundation ends and natural skin begins is one of the most immediately dating makeup mistakes, largely because it signals that the foundation shade or blending technique hasn’t been reassessed in a while — skin tone shifts seasonally, and a foundation matched once may no longer match without adjustment. The line itself draws attention to the base makeup as a separate layer rather than letting it read as skin.
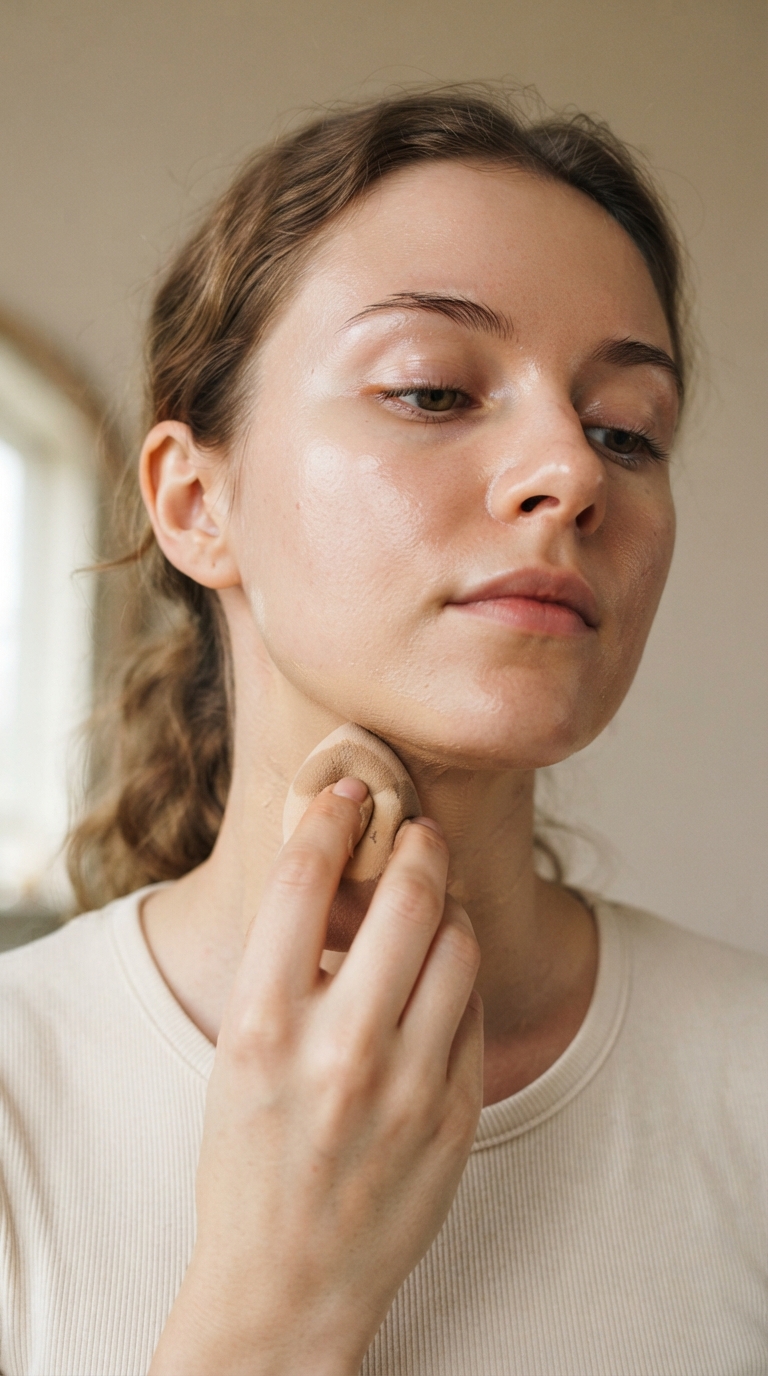
The fix has two parts. First, foundation shade should be reassessed roughly every season, since sun exposure changes skin tone more than people expect. Second, blending technique matters as much as shade match: foundation should be extended down onto the neck and blended with a damp makeup sponge using a bouncing, stippling motion rather than a dragging one, which pushes product into the skin rather than smearing it across the jawline in a way that creates a visible edge.
Best for: Anyone who applies foundation only to the face and stops abruptly at the jawline.
Mistake 3: Overly Matte, Powdery Skin
A fully matte, heavily powdered finish across the entire face was once considered the mark of a “flawless” base, but the technical issue is that skin naturally has variation in texture and sheen — completely flattening that variation with powder can make the skin look artificial rather than polished, especially in photographs where flat matte surfaces catch light differently than skin with natural texture.
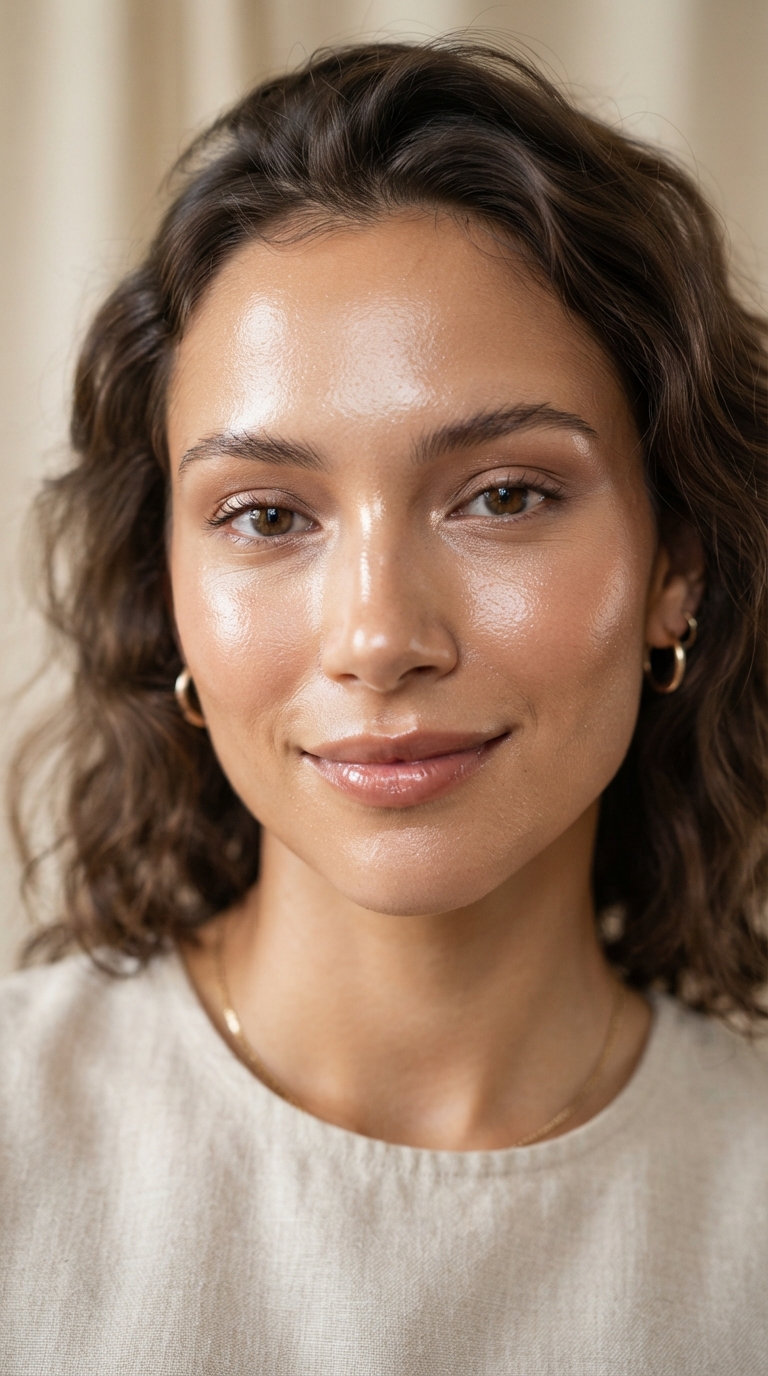
Current base makeup technique favors strategic finish rather than uniform matte — a lightweight, breathable foundation or tinted moisturizer, powder applied only where oil control is genuinely needed (typically the T-zone), and a cream or liquid highlighter on the high points of the face where skin would naturally catch light. This selective approach creates the appearance of healthy, dimensional skin rather than a flat, powdered surface.
Best for: Anyone whose base routine still involves full-face powder application regardless of skin type or oil level.
Mistake 4: Lip Liner in a Visibly Different Shade Than Lipstick
Outlining lips in a noticeably darker or entirely different-toned liner than the lipstick applied over it creates a visible ring around the mouth, a technique closely associated with a specific past era of makeup. The visual issue is contrast: a mismatched liner draws a hard boundary that competes with the lipstick color rather than supporting it.
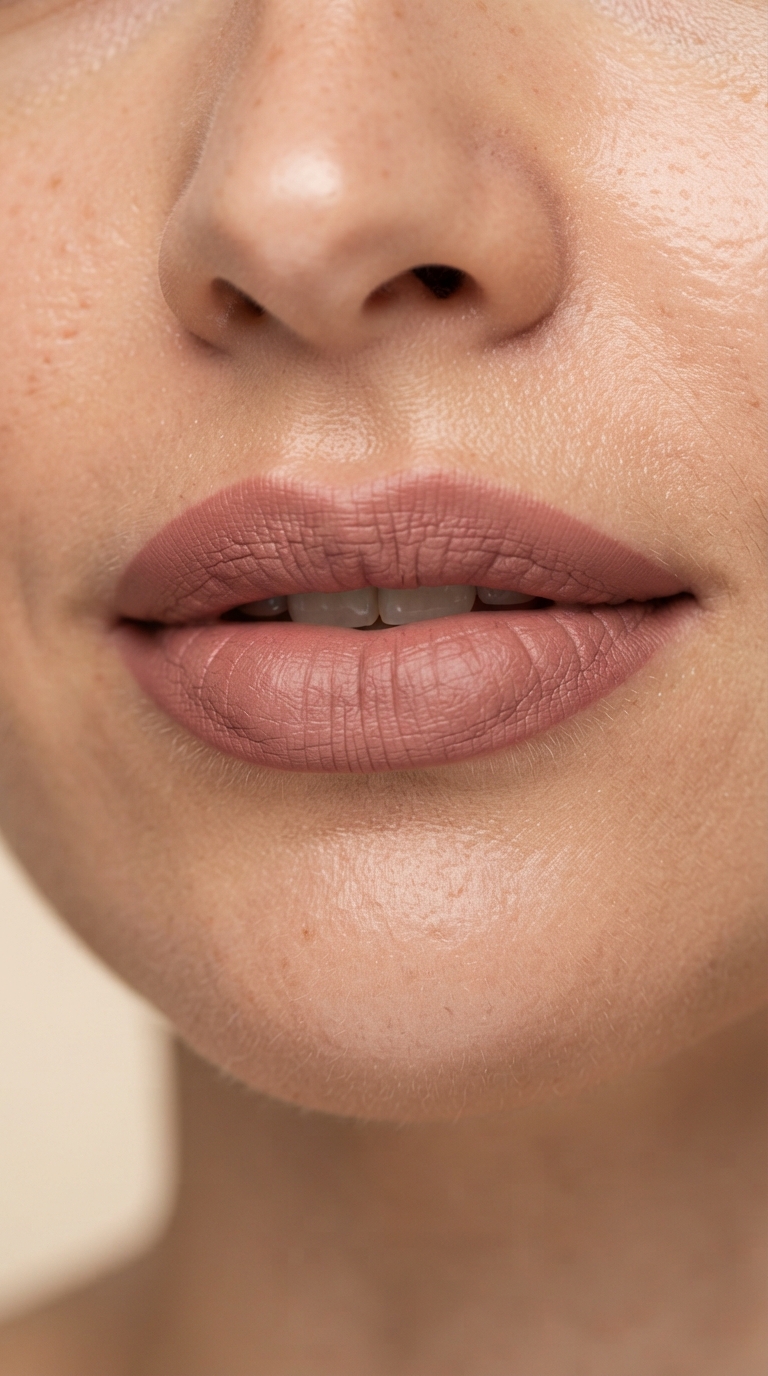
The current approach uses lip liner in the same shade family as the lipstick, or a shade very close to the wearer’s natural lip color, applied to define the lip shape and prevent feathering rather than to create visible contrast. Liner should also be blended slightly into the lip with a fingertip or small brush after application, softening the line so it supports the lipstick rather than sitting as a separate visible layer.
Best for: Anyone who reaches for a dark brown or noticeably different-shade liner regardless of the lipstick color being worn.
Mistake 5: Heavy, Sharply Defined Contour
Sharply defined, highly visible contouring — often applied in a distinct grey-toned or overly dark shade in obvious stripes down the cheekbones and sides of the nose — reads as dated because it prioritizes visible technique over believable shadow. Real facial shadow is soft-edged and follows the bone structure gradually, not in a hard line.
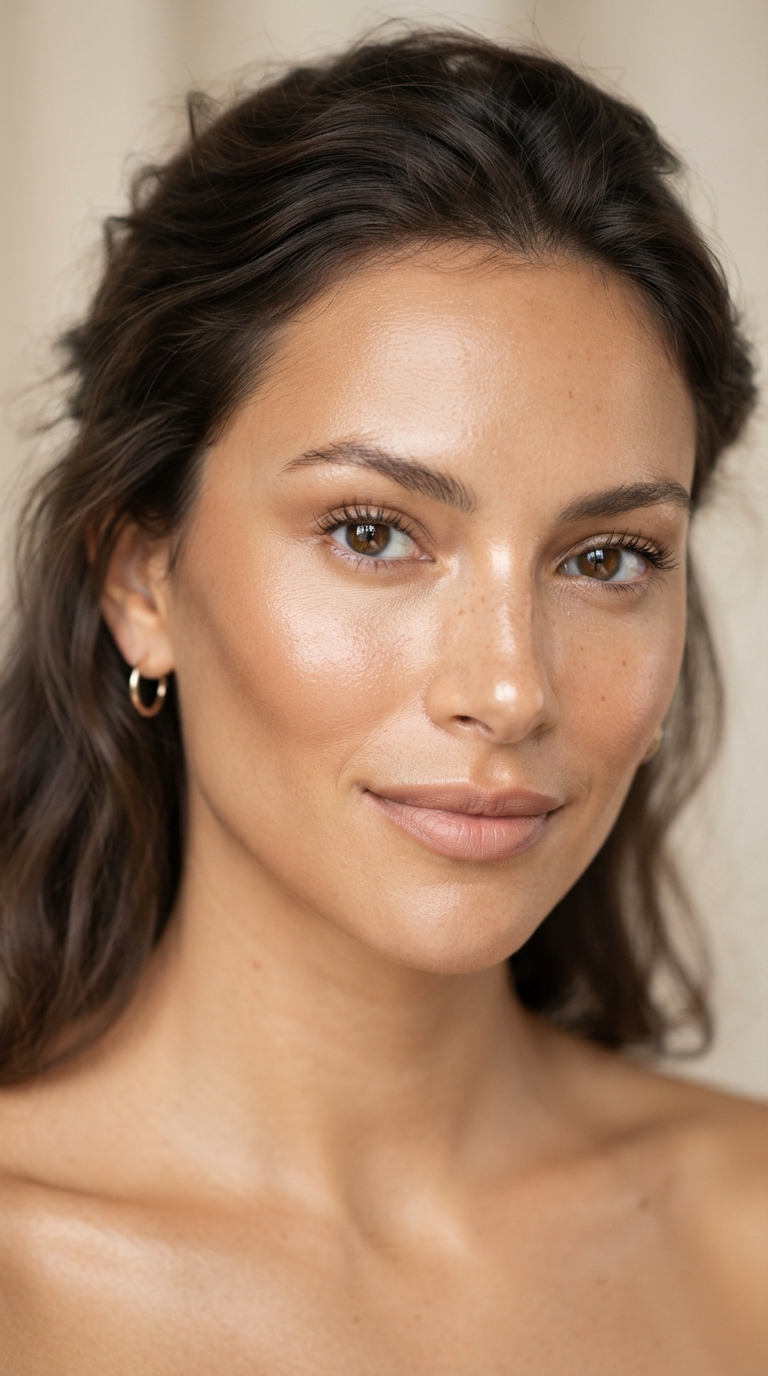
Modern contouring uses a cream or liquid product in a shade close to a natural shadow tone (avoiding grey or ashy undertones), applied in smaller amounts than intuition suggests, and blended extensively with a damp sponge until the edges disappear entirely into the surrounding skin. The goal is a shape that looks like it could be the bone structure’s natural shadow, not a visibly separate stripe of product.
Best for: Anyone whose contour still shows as a distinct, hard-edged line rather than a soft shadow.
Mistake 6: Overdrawn Lips With Excessive Liner Extension
Lining significantly outside the natural lip line to create the appearance of a larger mouth is a technique that, done without careful blending, tends to look obviously exaggerated rather than naturally fuller — largely because the technique depends entirely on the liner staying separate from the lip’s actual edge, which is visually detectable at close range or in bright light.
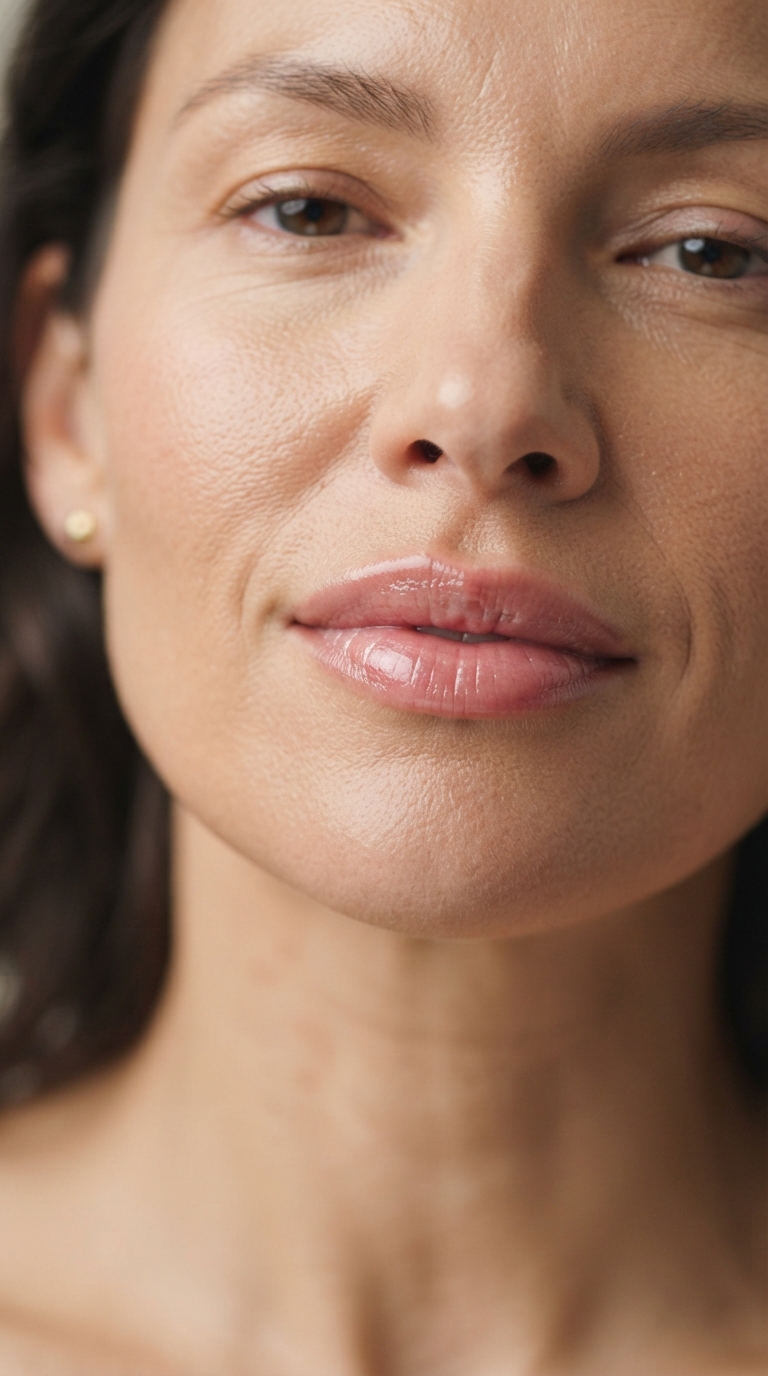
Where subtle enhancement is the goal, current technique focuses on lining just barely outside the natural lip line — a millimeter or two at most, concentrated at the cupid’s bow and center of the bottom lip rather than uniformly around the entire mouth — combined with a lip gloss or lighter lipstick shade in the center of the lips to create the illusion of fullness through light reflection rather than drawn boundary alone.
Best for: Anyone whose lip liner technique creates a visibly exaggerated shape rather than a subtly enhanced one.
Mistake 7: Blush Applied Only in a Small, Round Circle
Applying blush in a small, concentrated circle high on the apple of the cheek, without any blending outward, creates an isolated spot of color that reads as an obviously separate step rather than an integrated flush. The technical issue is placement and blend radius — a small, unblended circle draws the eye to the product itself rather than to the face’s natural structure.
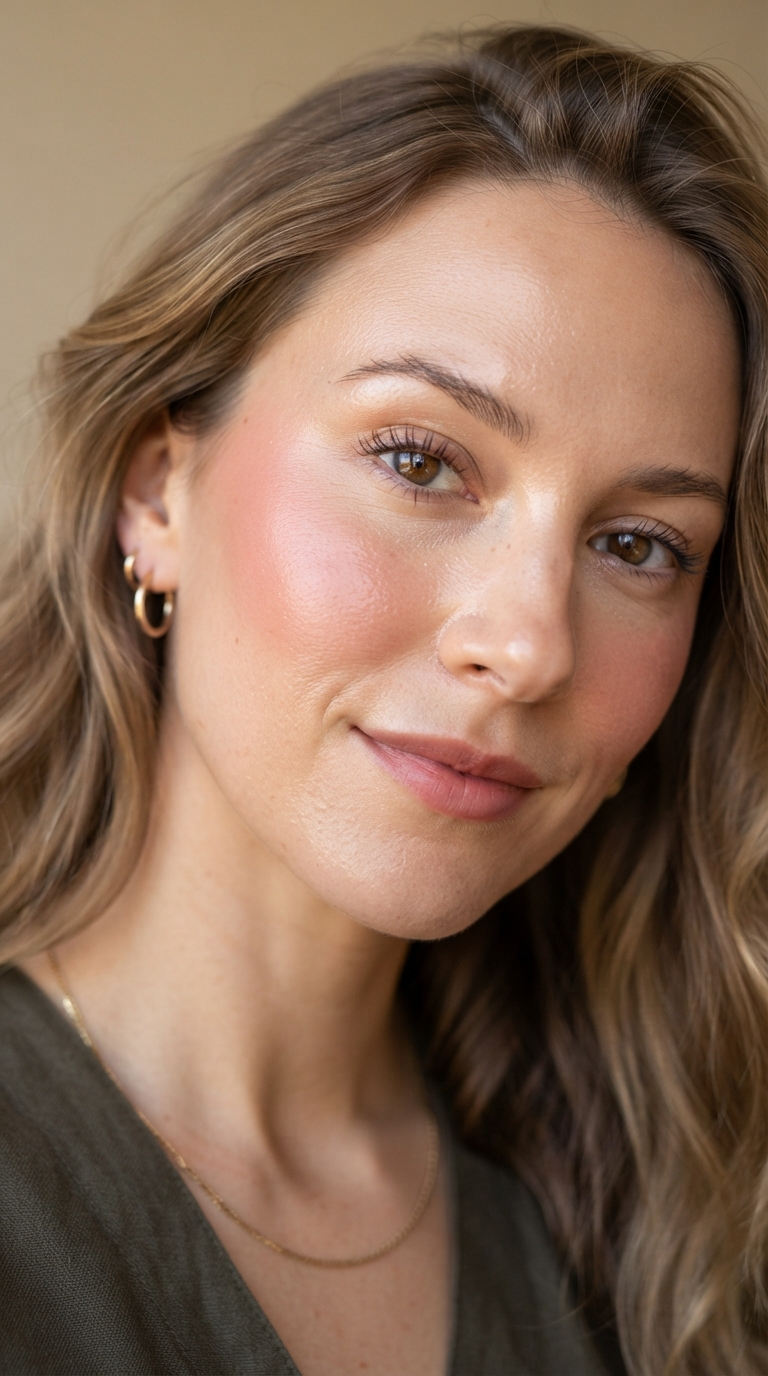
Current blush application extends the product upward toward the temple along the cheekbone, using a larger, fluffier brush (or fingertips for cream formulas) to diffuse the edges well beyond the initial point of application. This creates a flush that appears to emanate from underneath the skin rather than sitting on top of it as a distinct shape.
Best for: Anyone whose blush placement stays confined to a small circular area on the apple of the cheek.
Mistake 8: Frosted or Overly Shimmery Eyeshadow Across the Whole Lid
A heavy, uniformly frosted shimmer applied across the entire eyelid — rather than in a targeted placement — was a defining technique of an earlier era, and the reason it reads as dated now is that it flattens the eye’s natural dimension rather than enhancing it; uniform shimmer everywhere removes the contrast between light and shadow that actually creates the appearance of depth.
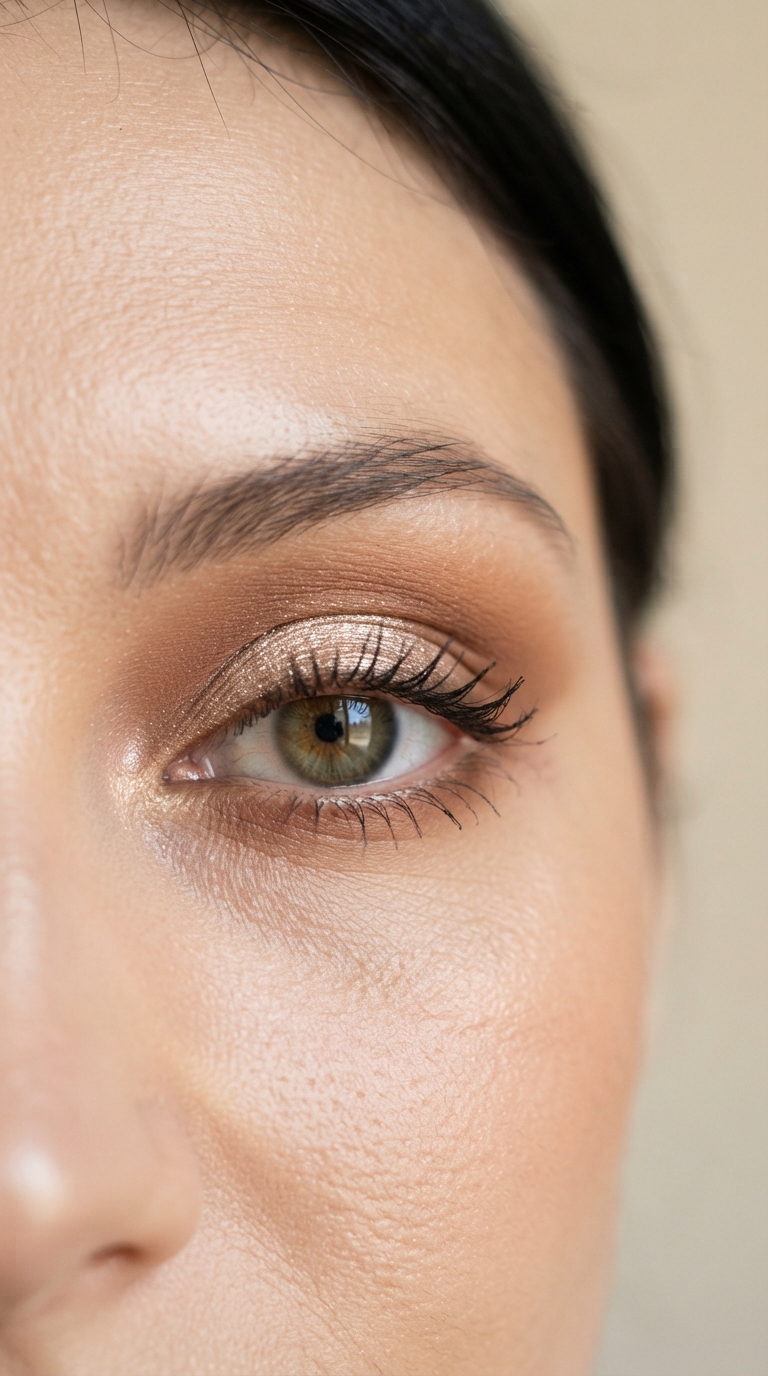
Current eye makeup technique uses shimmer strategically — concentrated on the center of the lid or the inner corner, where light naturally hits — paired with a matte or satin transition shade in the crease to build dimension through contrast rather than uniform sparkle. This layered approach, using two or three distinct placements rather than one flat wash of product, creates a more sculpted, current eye shape.
Best for: Anyone whose eyeshadow routine still involves one shimmery shade swept across the entire lid.
Mistake 9: Thick, Clumpy Mascara Applied Straight Up From the Base
Applying mascara in one thick coat straight up from the lash base, without separating or building in thin layers, tends to create clumping and an unnatural, spider-leg appearance rather than the appearance of naturally fuller lashes. The mechanical issue is wand technique — a single heavy application deposits product unevenly, while several thin coats build length and volume more evenly.
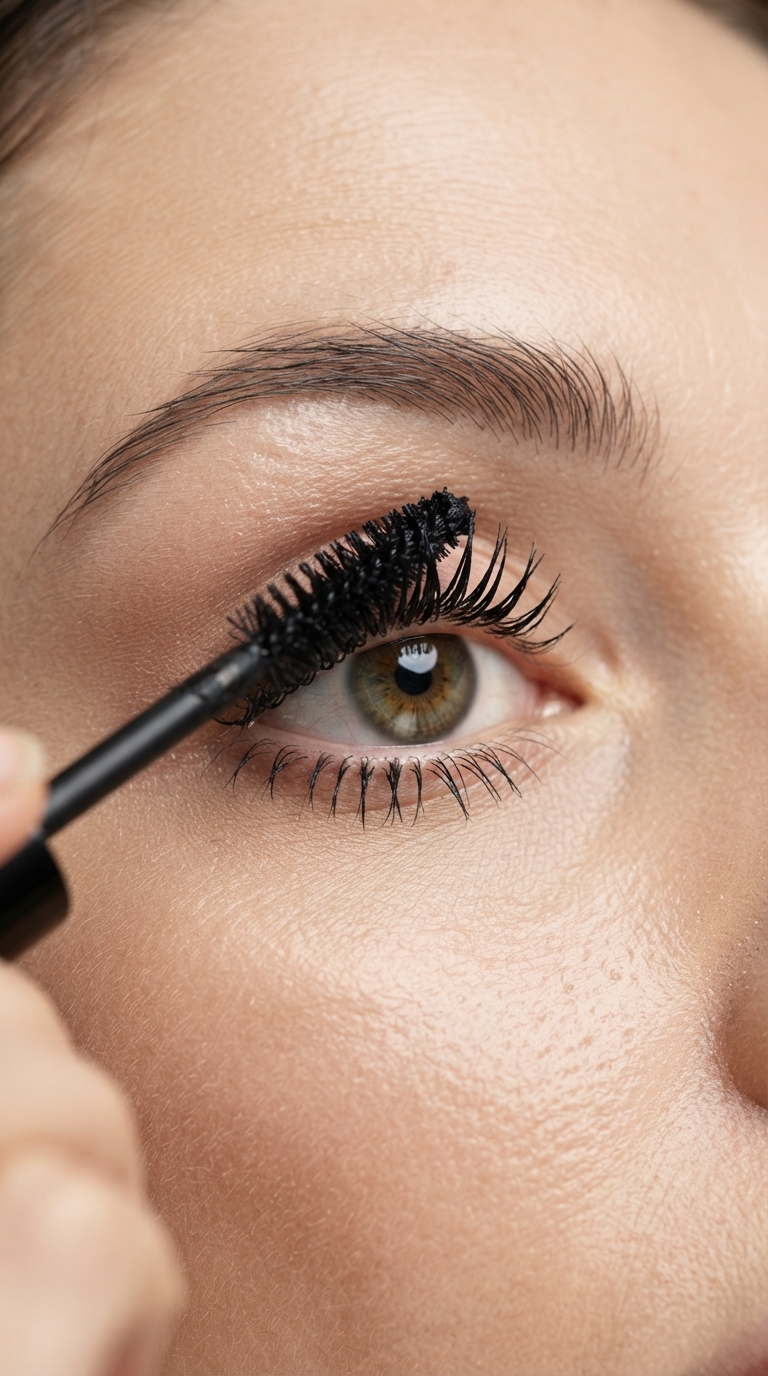
The current approach wiggles the mascara wand at the base of the lashes first to deposit product at the root where it lifts and separates, then sweeps upward and outward in a slight curve rather than a straight vertical line, mimicking the lash’s natural curve. Applying two to three thin coats, allowing brief drying time between each, builds volume without the clumping a single thick coat produces.
Best for: Anyone whose mascara consistently clumps or looks unnaturally spiky rather than fanned and separated.
Mistake 10: Ignoring the Neck and Décolletage Entirely
Applying foundation, blush, and bronzer to the face while leaving the neck and chest completely untouched creates a visible tonal mismatch between the face and the rest of the visible skin, particularly noticeable in photographs or under bright light. This mismatch is one of the more overlooked reasons a full, technically well-executed face of makeup can still look slightly “off” or incomplete.

Extending a small amount of bronzer or a diluted foundation down over the neck, collarbones, and upper chest — blended thoroughly so there’s no visible transition — brings the rest of the visible skin into the same tonal range as the face. This doesn’t require full coverage, just enough product to prevent an obvious contrast between a made-up face and untouched skin below it.
Best for: Anyone whose makeup routine stops entirely at the jawline with no extension downward.
How to Update Your Routine Without Starting Over
You don’t need to replace every product to fix these habits — most of what dates a makeup look is technique, not the specific formula in your makeup bag. Start with the two or three mistakes from this list that feel most familiar in your own routine, and practice the adjusted technique a few times before judging the result; blending-based changes in particular (contour, blush, foundation) take a bit of repetition before the new motion feels automatic rather than effortful.
If you’re unsure which of these habits actually applies to your own routine, a simple test is photographing your finished makeup in natural daylight — several of these issues (hard contour lines, a visible foundation edge, clumped mascara) show up far more clearly in a photo than in a mirror, since photos flatten the face the same way they flatten any hard product edges.
Closing Thoughts
None of these ten fixes require new products or a significant time investment — they’re almost entirely about adjusting placement, blend radius, and application motion within a routine you likely already have. Small technical shifts like these are usually what separates a look that feels effortlessly current from one that’s technically fine but reads as slightly behind, and the difference is almost always in the blending, not the shopping list.
Save this guide, pick a mistake or two to work on this week, and let the small adjustments compound into a noticeably more current everyday look.

3 thoughts on “10 Makeup Mistakes That Can Make Your Look Feel Dated”